
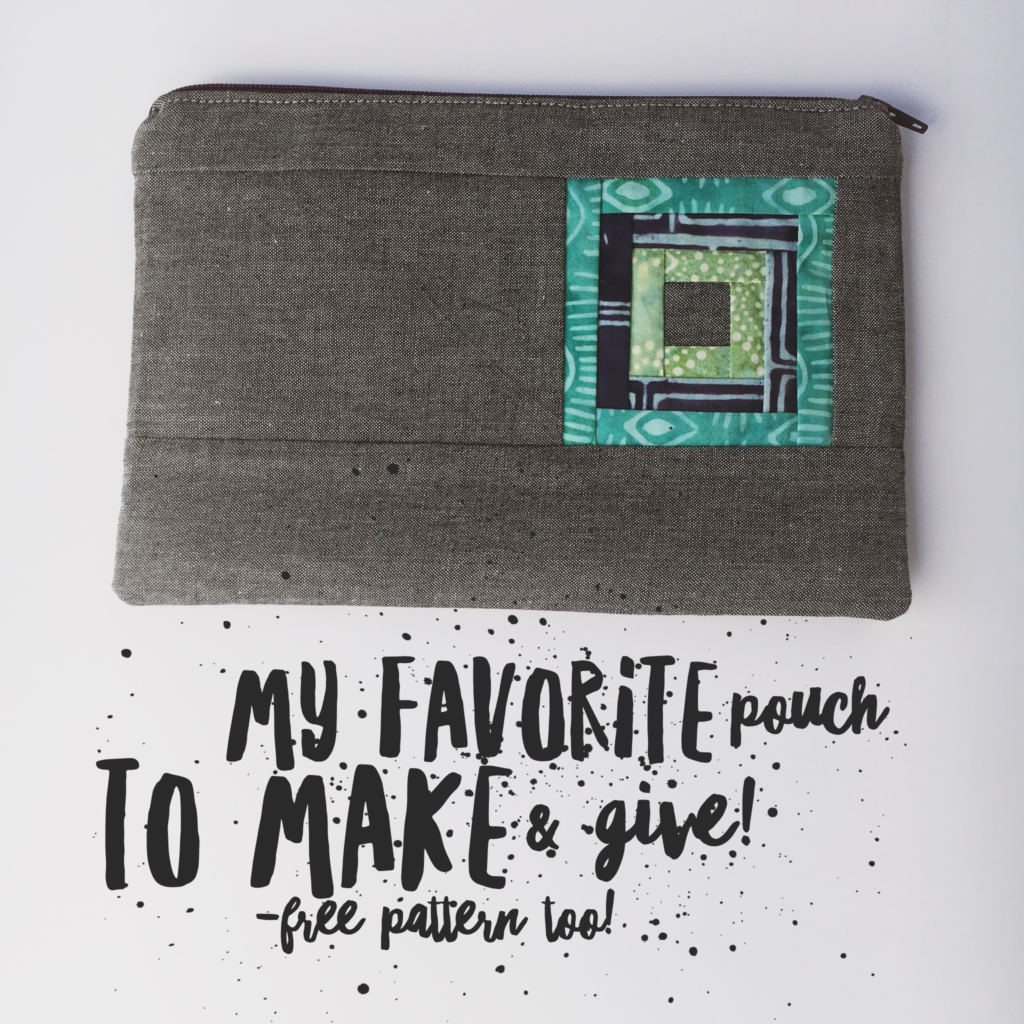
This is the time of year we start to think about making gifts, and I’m here to share my favorite pouch to make and give, to friends, family, teachers, even my kids’ friends on occasion! The pouch is the perfect size to add personal items to, and super useful as a purse accessory, first aid kit, pencil pouch, hexie keeper, and so on!
Let’s get started!
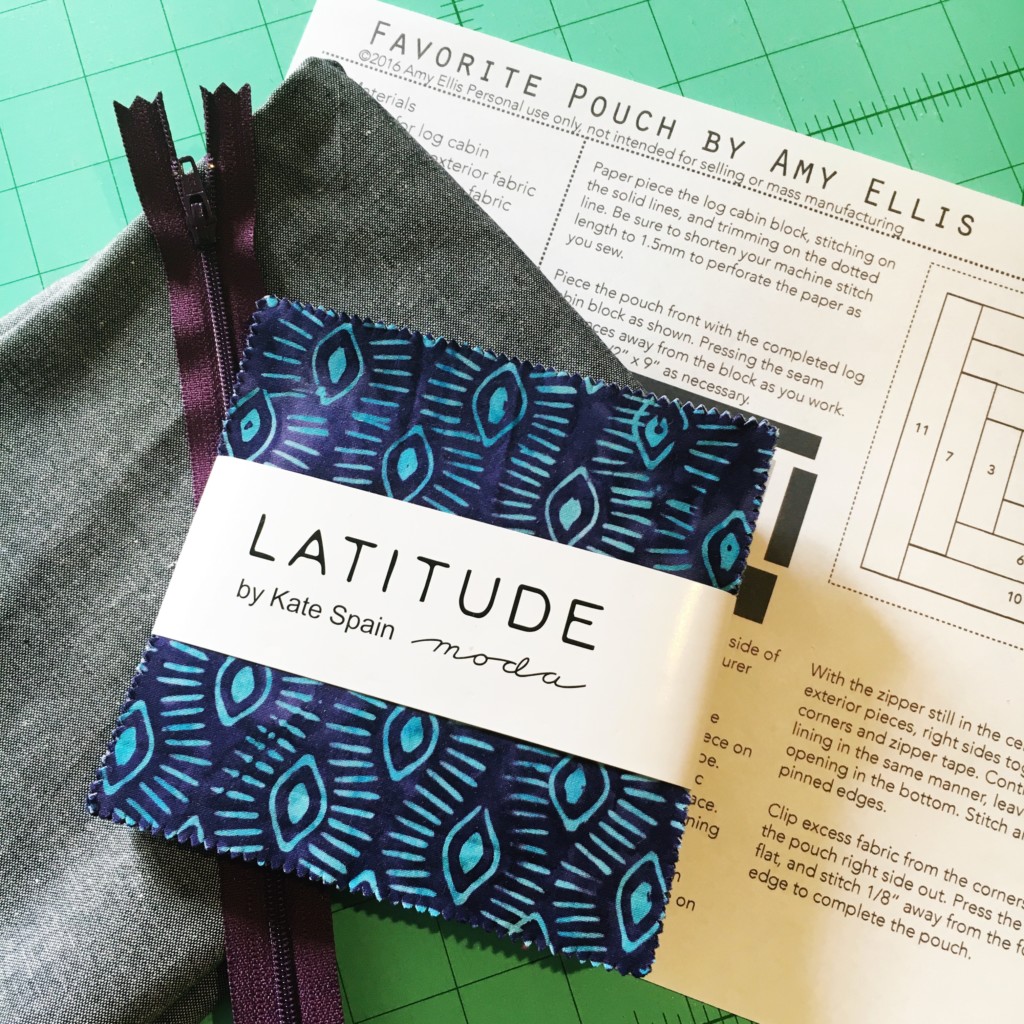
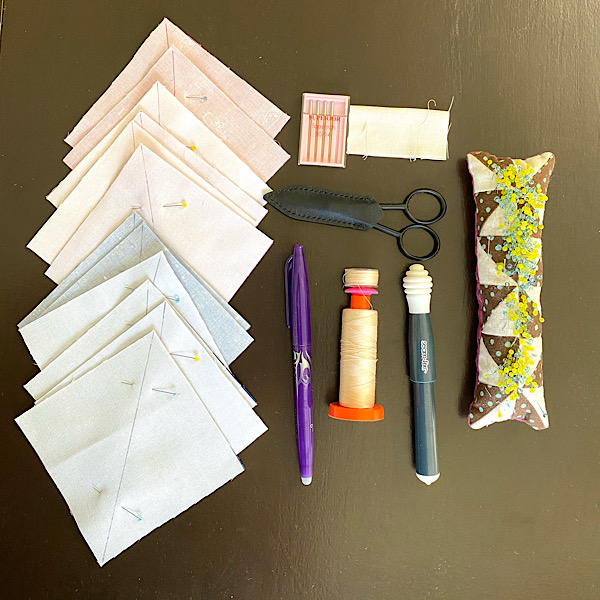
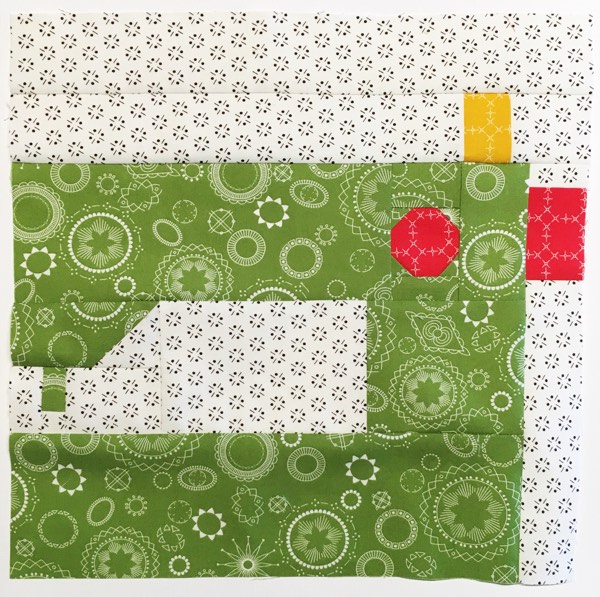
Print the pattern, and collect scraps or a Charm Pack for piecing the Log Cabin block. I always start by paper piecing the block, if you need tips for success in paper piecing I have a video here. Personally I like to use the main bag fabric as the center of the block, to give it a relationship to the bag, but that’s up to you!
After piecing the block cut the remaining pieces, listed on the pattern.
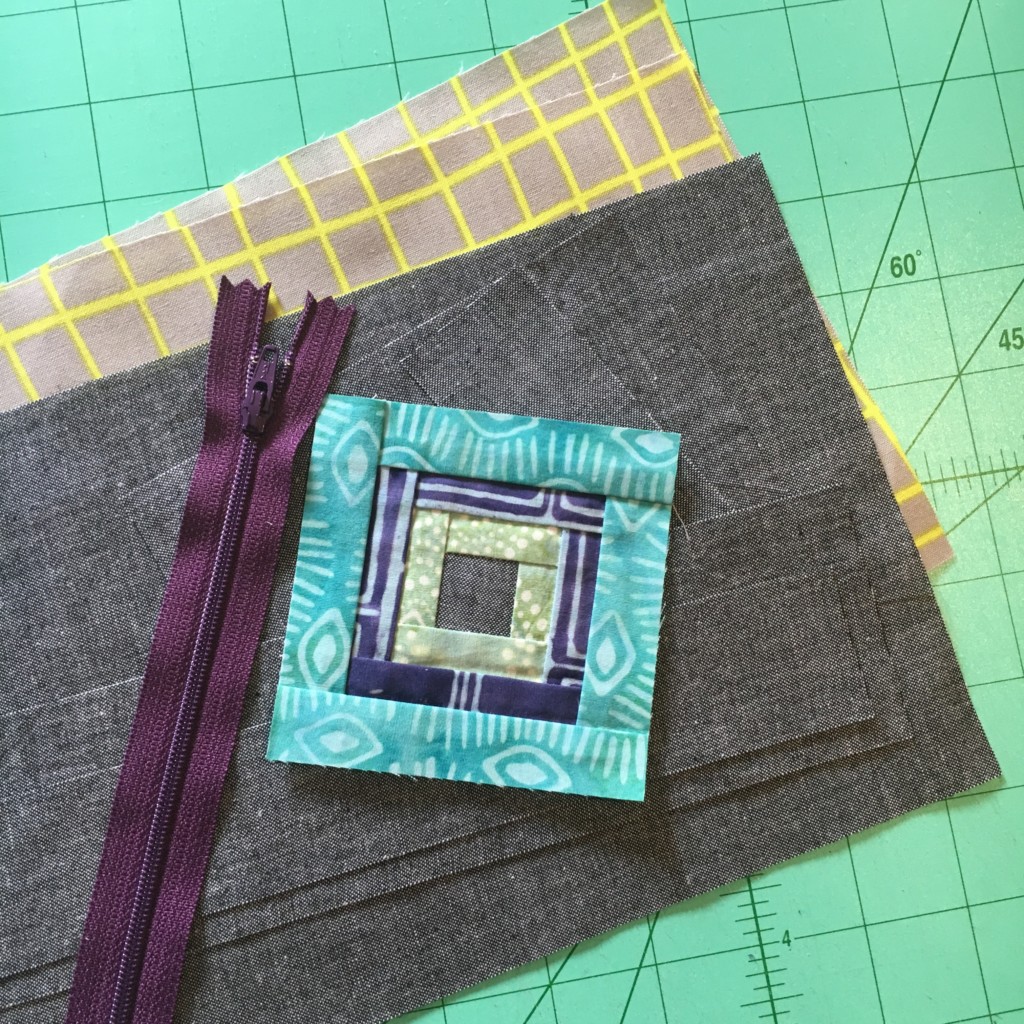
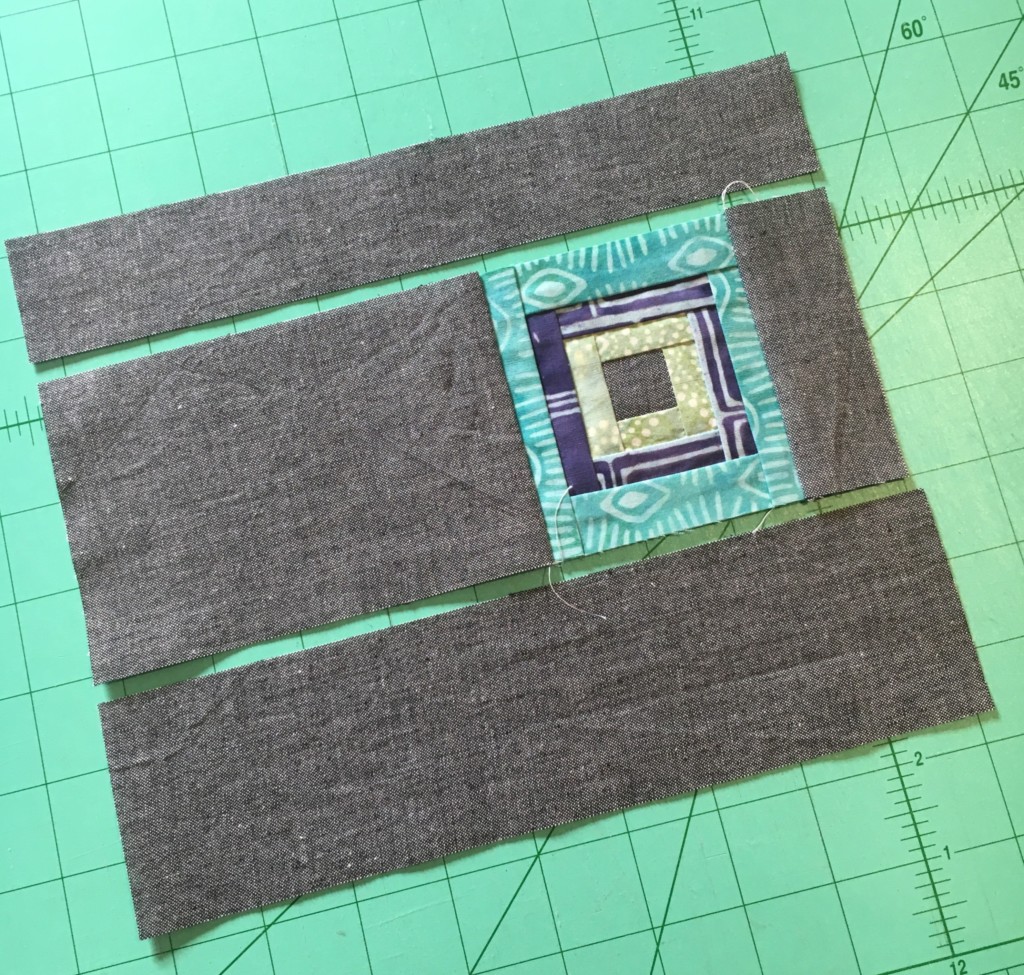
Set aside the large rectangles, and piece the front together. First the sides, then the top and bottom.
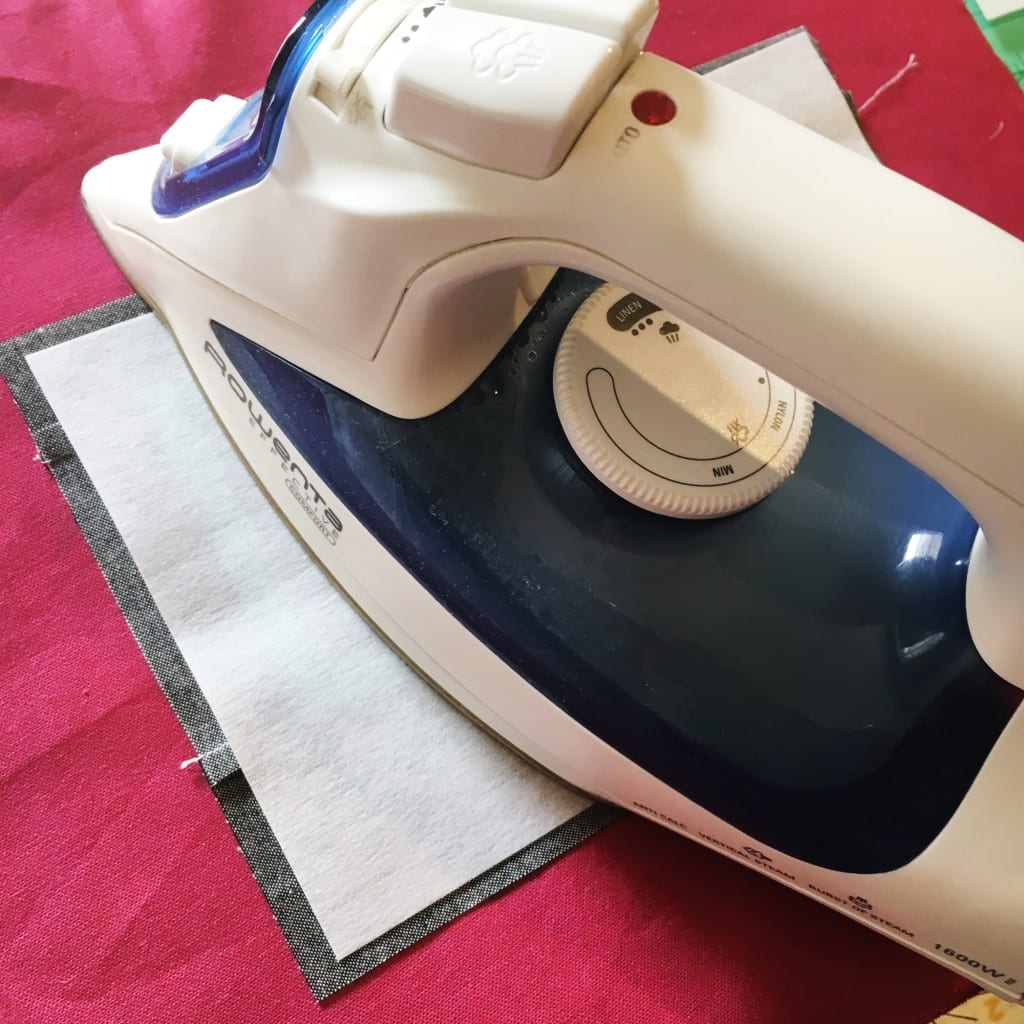
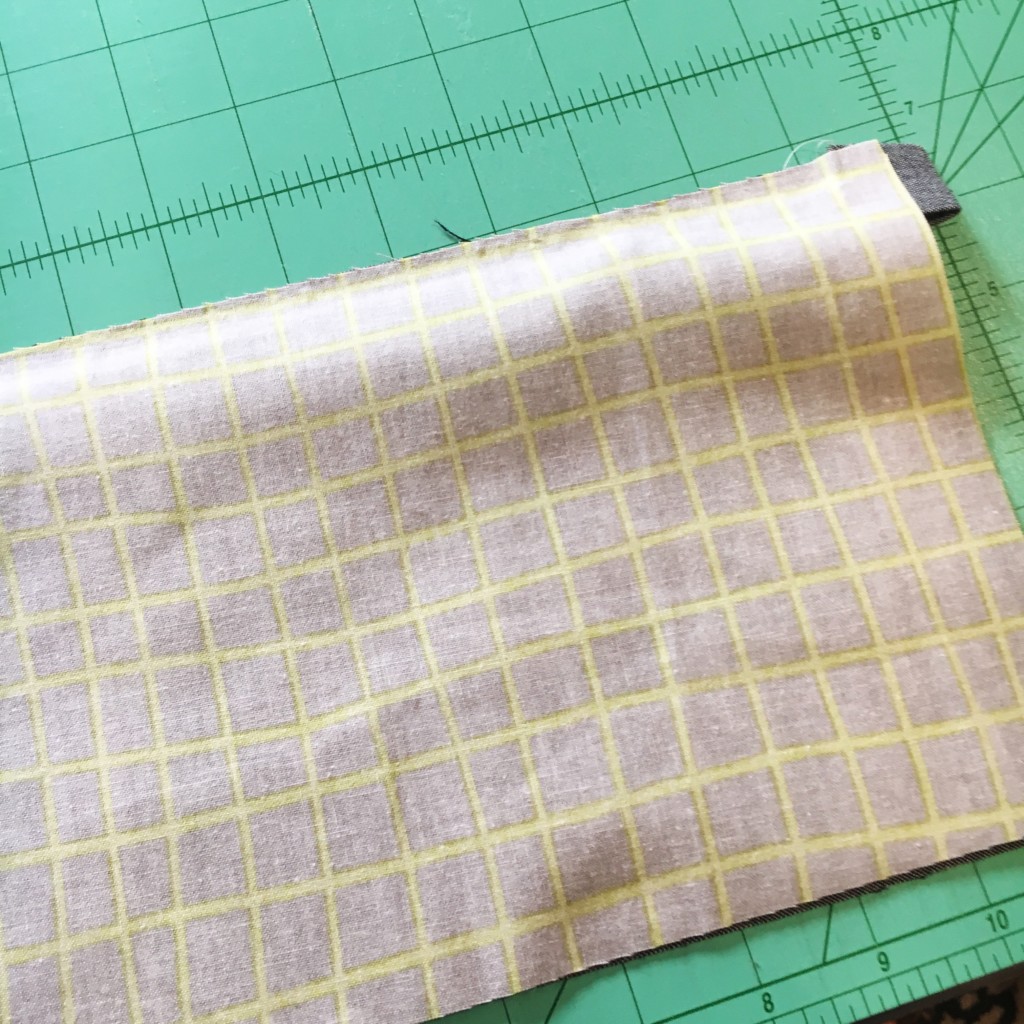
Affix the fusible fleece to the exterior pieces.
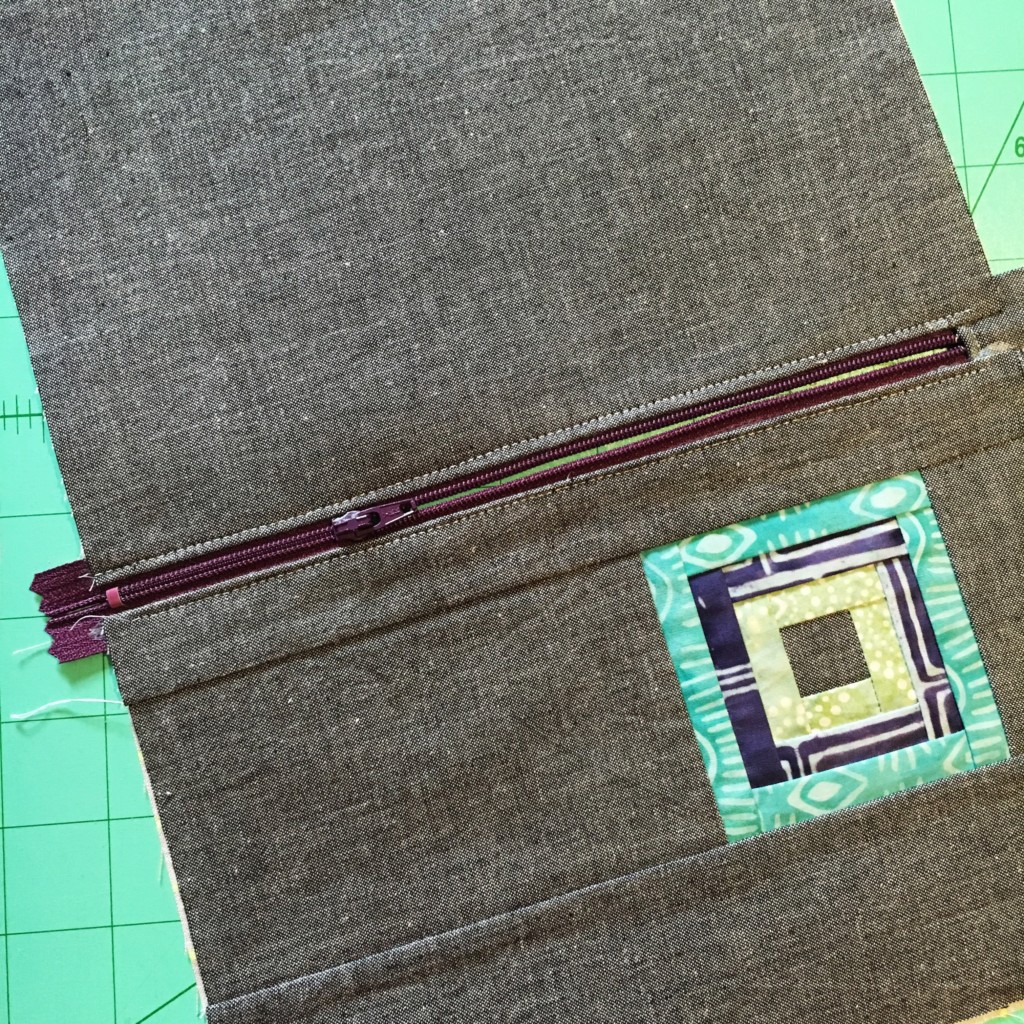
Now with four rectangles, it’s time to install the zipper! I like to use a glue stick, especially if you don’t have lots of zipper experience.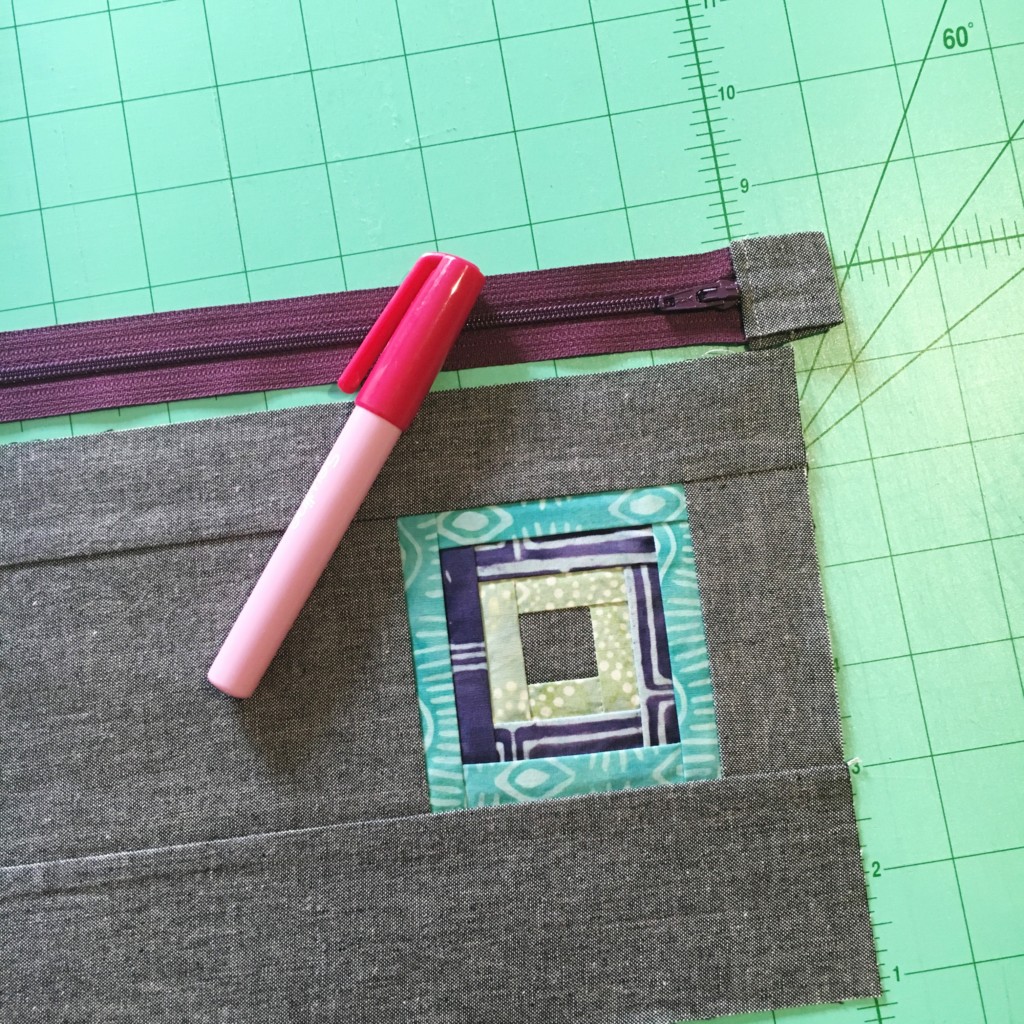
Apply glue to one side of the front of the zipper tape, and use your fingers to press to the top of the exterior front.
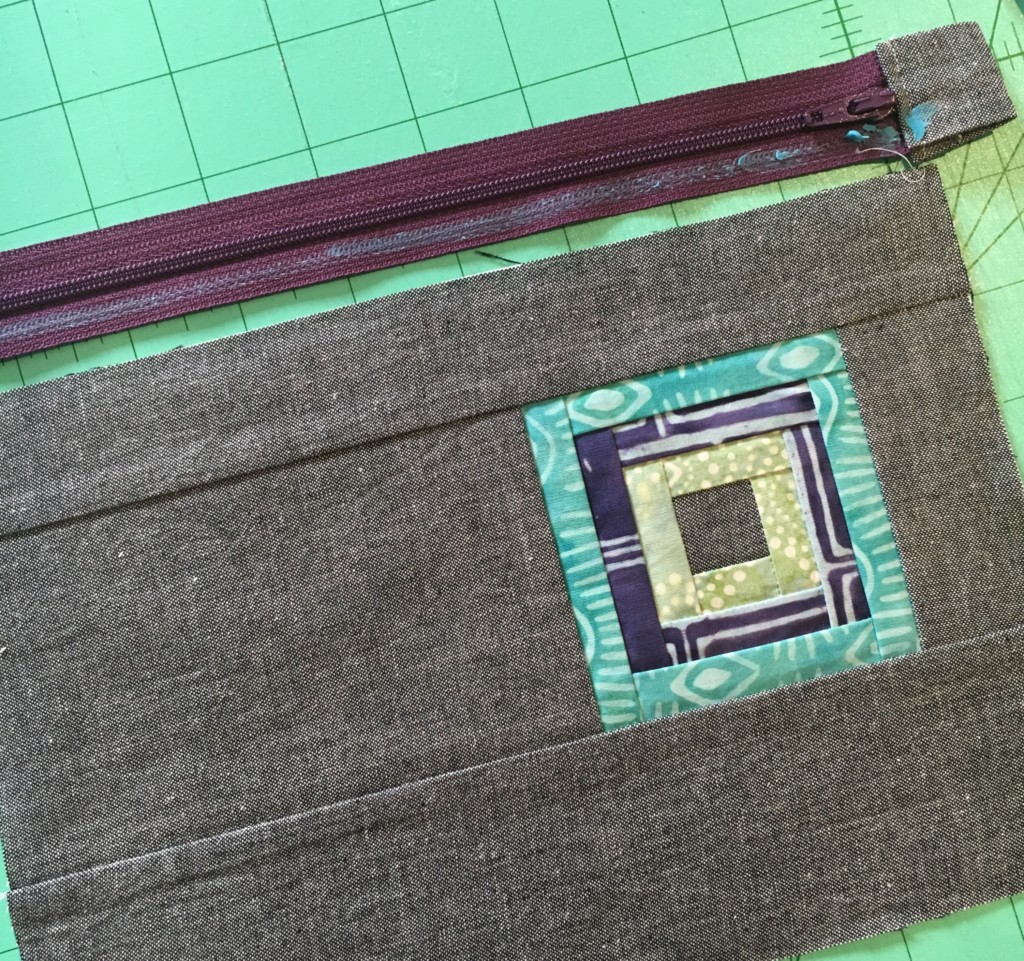
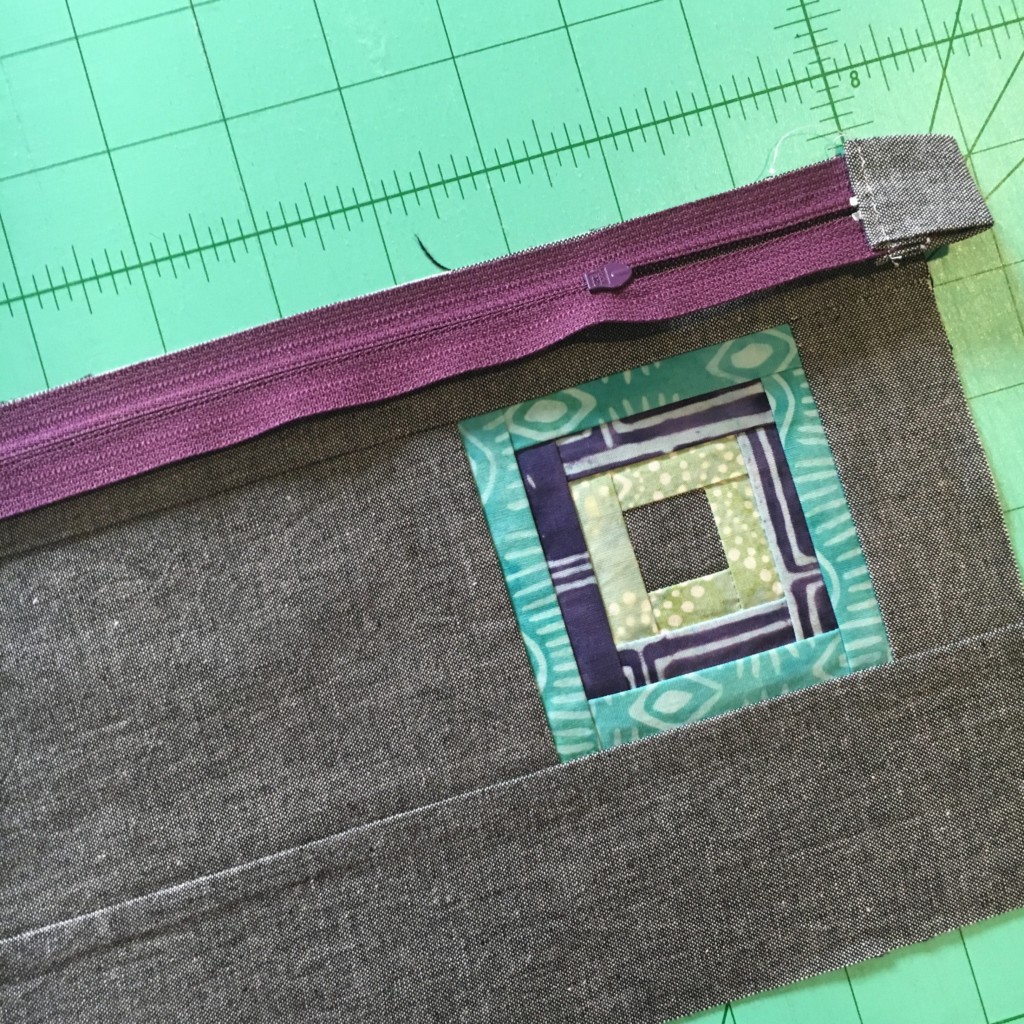
Repeat on the back of the zipper tape, on the same side of the zipper, and use your fingers to press to the top of a lining rectangle. At this point, the zipper is covered, but you have a nice straight edge with the zipper tape, exterior and lining fabrics. Install your zipper foot on your sewing machine, and sew approximately 1/8″ away from the zipper teeth.
As you stitch, you may need to stop and move the zipper out of the way, sometimes I will take a wide path around the zipper to secure everything, then move the zipper and restitch the area. Carefully press the fabrics away from the zipper, and topstitch. Then repeat the process on the other side of the tape.
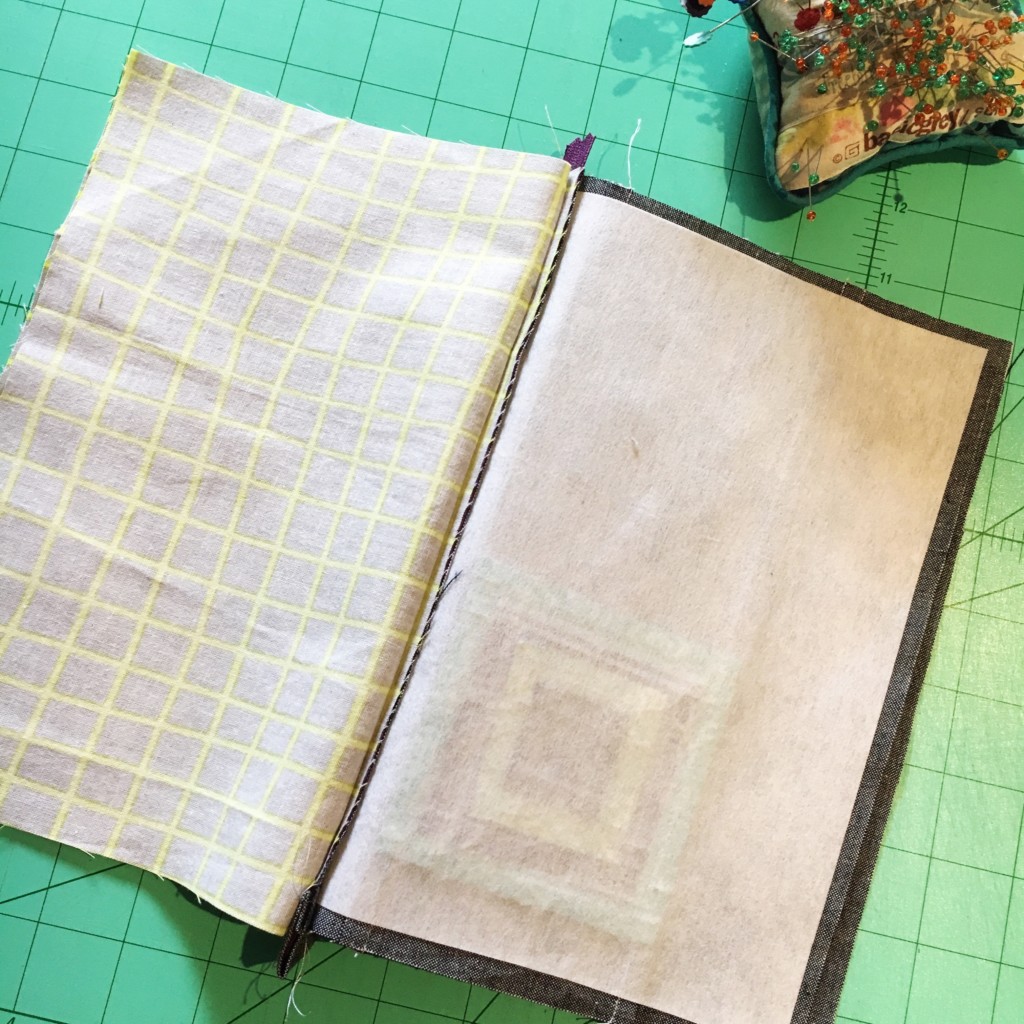
Before you continue, OPEN your zipper, at least half way. To turn these flat pieces into a pouch, there’s one big seam to manage! Match your right sides of exterior fabric together with the zipper in the center, pin in place. The zipper tape should fold toward the lining, so that it’s facing up, toward the exterior.
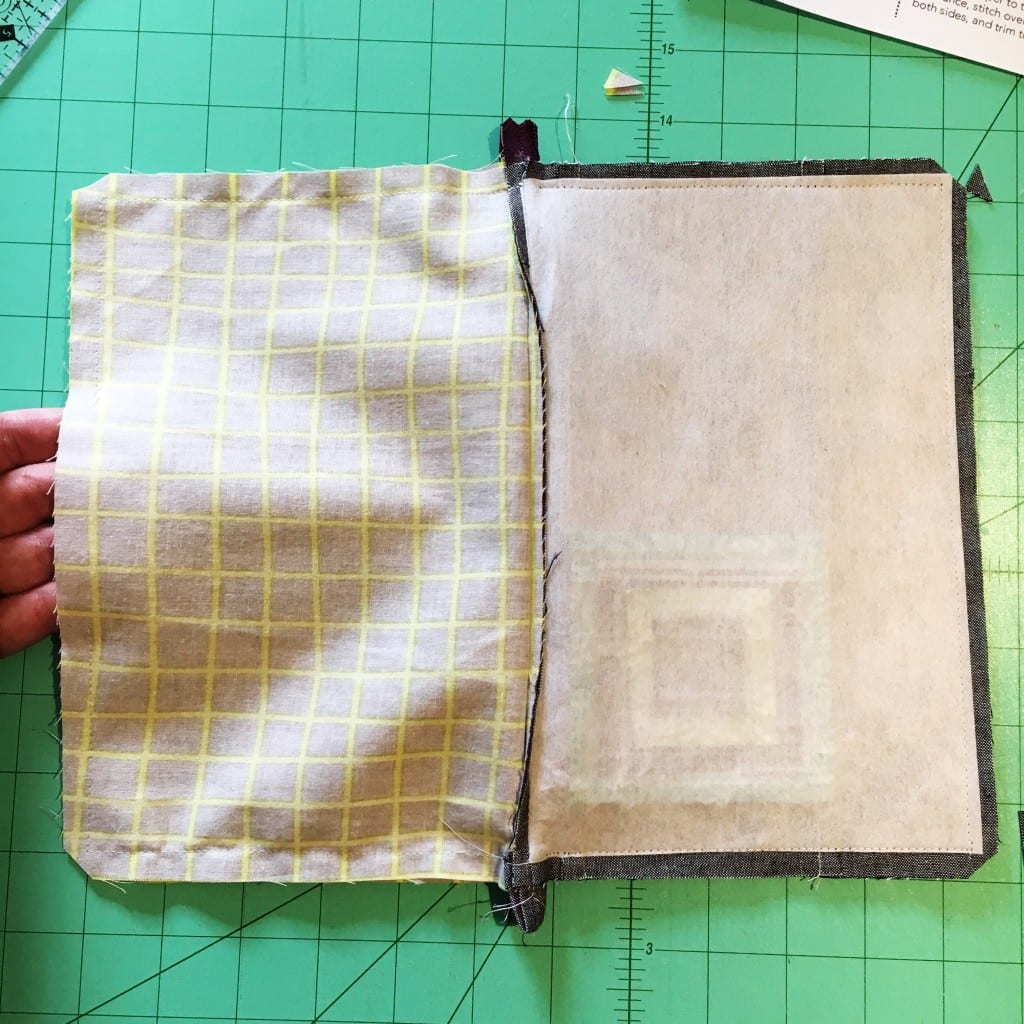
Continue pinning the lining in the same manner, leaving a 3″-4″ opening in the bottom. You can see my small ruler is where I left the opening. I start on one side, and end on the other, stitching around the entire pouch with one seam.
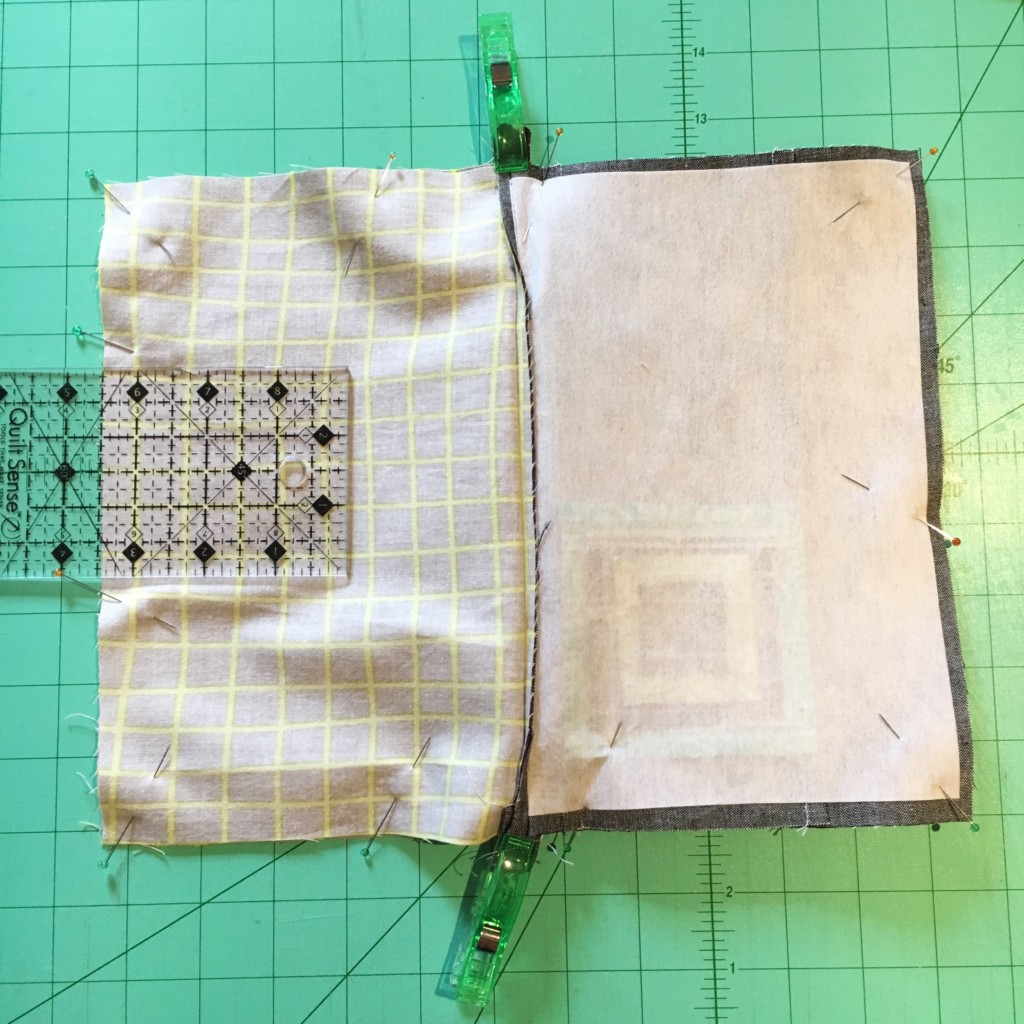
Use a 1/4″- 3/8″ consistent seam allowance around the pouch, skipping over the zipper as needed, but make sure all the fabric around it is secure. (especially if you use a metal zipper) Clip the corners and excess zipper tape. Then turn right side out through the opening in the lining.
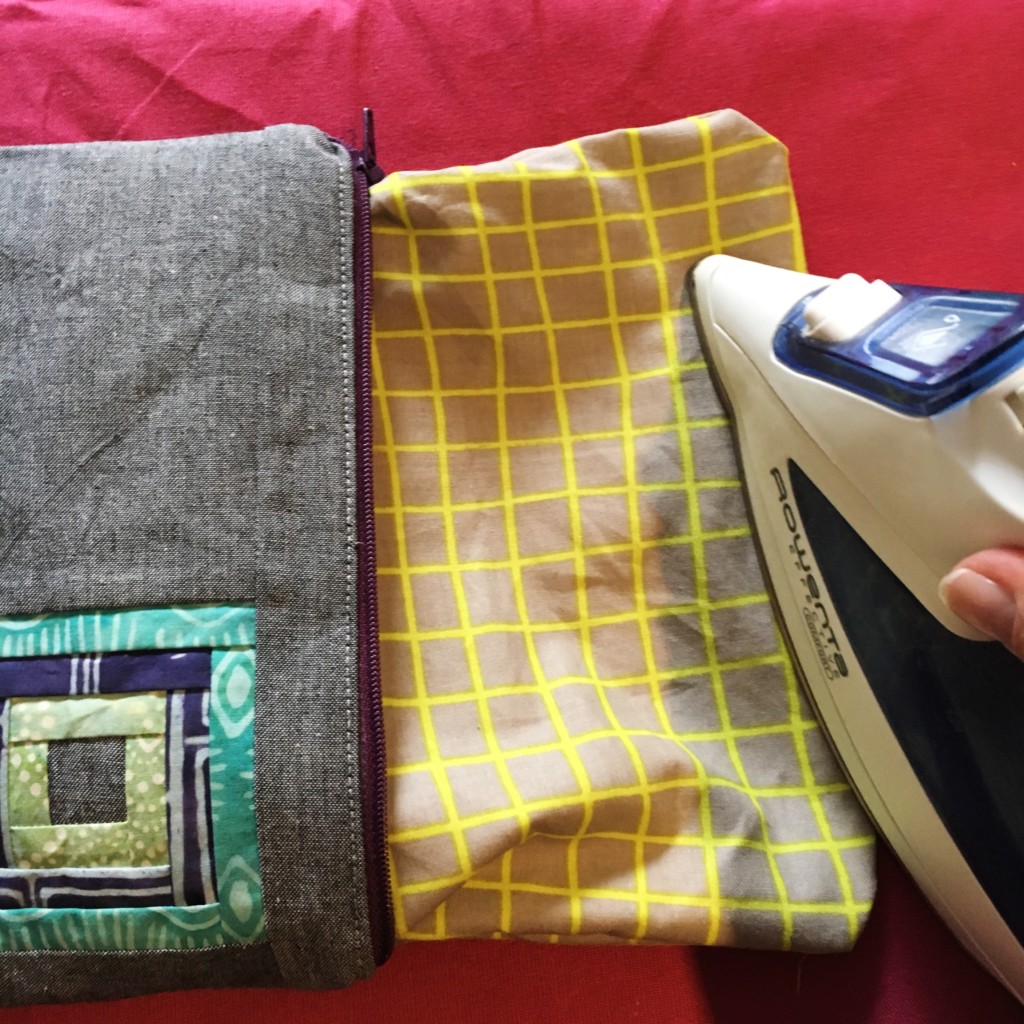
It’s a little touch and go, as you turn it right side out – don’t worry! Get your corners nicely turned out, then iron the opening shut at the bottom of the lining. Top stitch the opening shut, and tuck the lining into the pouch!
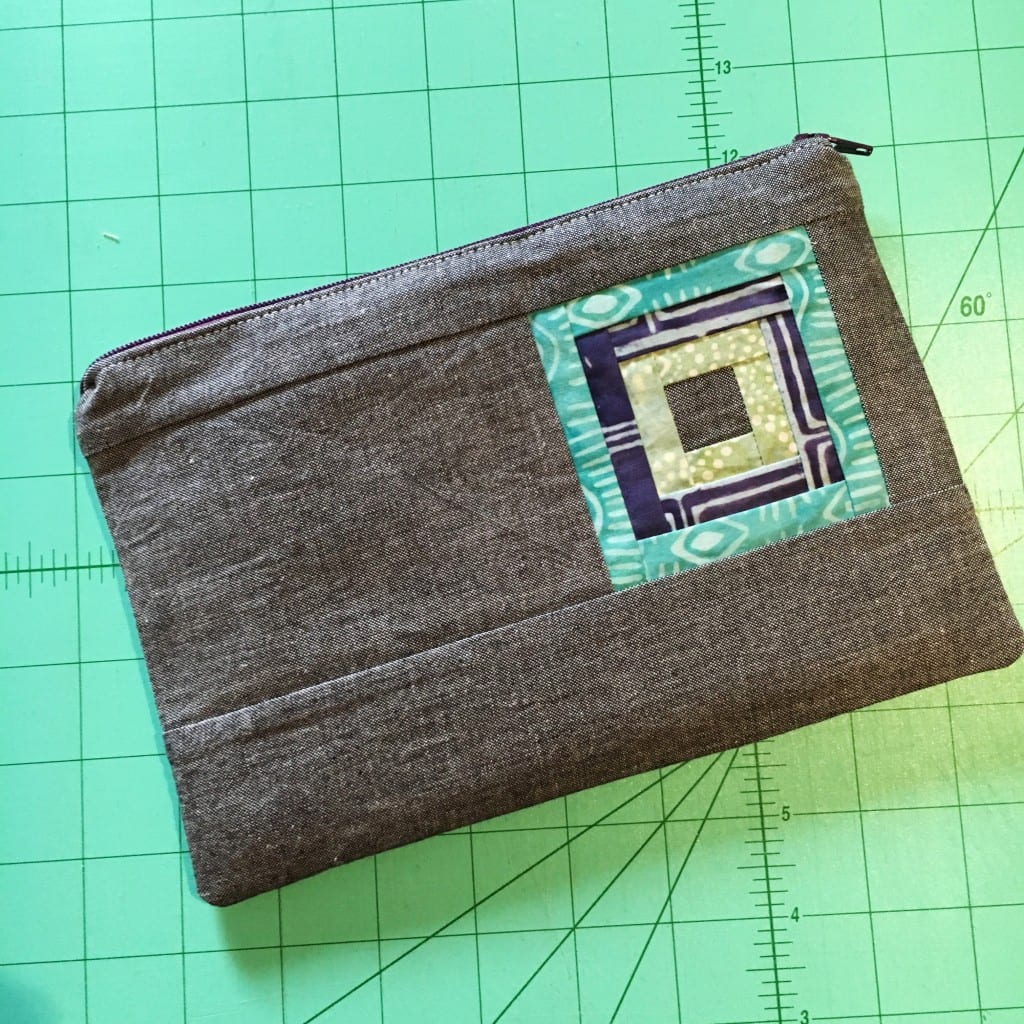
The finish of each pouch is so fun to see! I’ve made loads of them and still can’t wait to make more. They can be customized for anyone on your gift list, and filled with chapstick and lotion or gift cards and chocolate!
Here’s a few more for inspiration for you! I’ve made dozens over the years and they are still my favorite pouch to make.

Consider switching up your exterior fabrics too!

I’d love to see what you make! Tag me on IG – @amyscreativeside
Amy
Very cute! Thx for the free tute!
Sew simple, but sew very practical and right in time for Christmas planning for family and friends. Thanks Amy for sharing the pattern…love it!
Hi Amy! Thank you for the pattern! I am doing something wrong. When I downloaded the pattern ( I did use the actual size setting) the foundation block is only measuring a tad over 2″- and even with a 1/4″ seam allowance added to the finished block I am still not coming up with 3-1/2″. That is the size it needs to be, correct? What on earth am I doing wrong? I feel so silly asking as I have paper pieced before. In my defense it is the end of a long work day :).
Thanks for your help!
Hi Courtenay – I just printed it from online myself and it came out 3 1/2″ which yes is the correct size. Did you print in portrait or landscape? It should be landscape, that’s the only other thing aside from scale that I can think of to check.
Let me know if I can do anything else!
Amy
Thanks Amy- I did not print it in landscape. I will do that now. Thank you much!
Thank you, Amy! Looks like a great gift idea. Can’t wait to get started!
Thank you for the great tutorial and pattern. I’m excited to make my first log cabin block. I love making zip pouches and this really adds something special to it.
What is the main fabric that you used for the outside of the bag. Is it linen? Is it charcoal gray? I love how it sets off the colors of the block.
Great tutorial! Could you tell me what kind of fabric you used for the exterior? Looks like linen. Thanks for sharing cheers mary
Hi Mary!
It’s a woven fabric, Moda Crossweave, or Robert Kaufman Essex – I use them both for these little pouches constantly.
Very cute, thanks for the free tutorial!
Cute and FUN!!
I winged my own pattern before I saw this- great little bag! I had some small orphan blocks I used to make mine.
Great tutorial! Could you tell me what kind of fabric you used for the exterior? Looks like linen. Thanks for sharing cheers mary
Ãow do I make the quilt block? Please respond to groovypb@hotmail.com
Thank you for the beautiful pattern. I cannot wait to make it!!
Love your pouches! Looking forward to trying your pattern with my Guicy Guice blocks!
Loved this! Signed up and lost the pattern you sent for the pouch, please could you resend. Thanks Robin
Very cute porch! Thank you for sharing this! I love sitting at my machine and just playing with a pile of scrap fabric. I make loads of scrappy pouches/ bags etc…. I have tons of orphan blocks and mini blocks that I am going to use in this manner.
Thanks again!