
Hi there!
Getting started quilting can be really tricky. This is especially true if you don’t have a quilter in your family or a background in sewing. Let’s get started on your first quilt!
Anatomy of a quilt
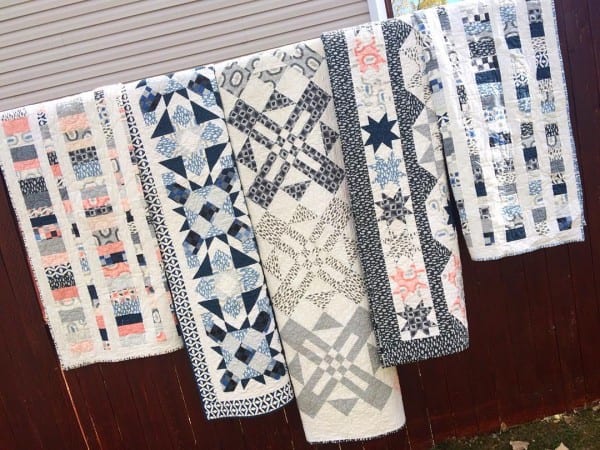
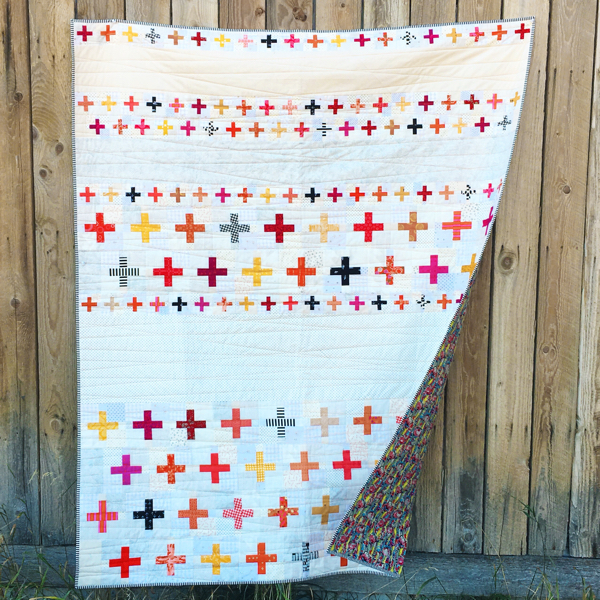
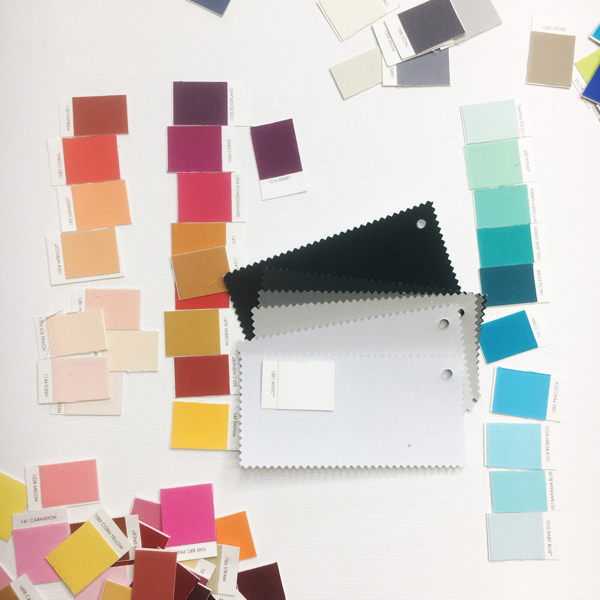
L-R – Wishing Well, Tranquility, Turnstyle, Starry Night, and Wishing Well
Understanding the parts that make up a quilt, will help you know and understand your end goal. First, a quilt is made up of three layers, a quilt top, batting, and backing fabric. The quilt top is usually (but not always) pieced, a patchwork of fabric sewn together. Batting is available in a variety of fibers, cotton, and polyester the most recognizable, but there’s also wool, silk, bamboo, and a variety of combinations as well. Backing fabric can be pieced together, or you can find wide widths made specifically for quilting as well. Early on, I suggest you start small with your projects, so the wide fabrics probably won’t be necessary.
These three layers are quilted together, meaning that you stitch through all three layers, or tie the layers with heavy string or yarn. The outside edge is usually finished with a binding. This is a long strip of fabric made to go around the entire perimeter.
Fabric and cutting
Selecting fabric, and deciding how you want to sew them together can be the most difficult decision. For beginners, I suggest a very simple Charm Pack quilt. You can purchase a Charm Pack that is already cut, and ready to sew together at a local quilt shop. These are 5″ pieces of fabric that coordinate in one tidy package. To make a baby or lap quilt, you will need 40 – 75 charms, or 5″ squares.
To cut your own fabric, you will need a cutting mat, rotary cutter and acrylic ruler no shorter than 24″. Use the ruler and the lines on your cutting mat to square your fabric before making the desired strip cut.
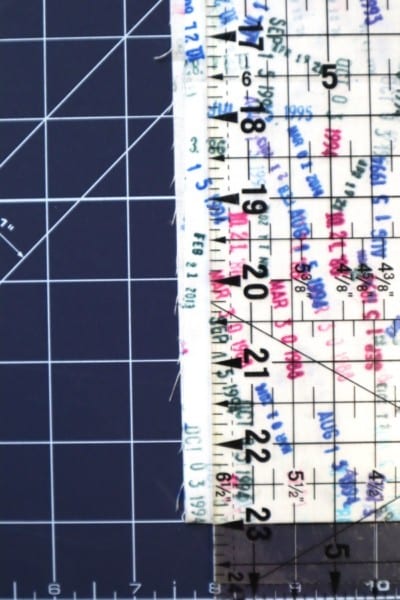
When using these new tools for the first time, keep in mind that your fingers are precious, and in danger, if you aren’t careful. A flat palm on the ruler with your pinky off the ruler to stabilize the ruler should keep all your fingers safe. Always double-check your finger position before cutting.
To cut, always push the rotary cutter away from your body. Cut one or two layers of fabric, depending on the width so that if you make a mistake it’s less fabric at risk. Measure using the ruler, or the cutting mat, and find the method that works best for you. Cut a strip first, then cut a square or rectangle by crosscutting the strip. Crosscutting = turning the ruler, measuring, and cutting across the strip.
As you become a more experienced quilter, different-sized rulers will become helpful. My favorite alternate rulers are 6 1/2″ x 6 1/2″, and 3″ x 9″, also helpful, is a 6 1/2″ x 12 1/2″ and 12 1/2″ x 12 1/2″.
Piecing your first quilt top
If you have not used a sewing machine ever, there are lots of moving parts, but with a manual in hand, you can easily thread a machine, and get started.
Thread your machine with neutral cotton or polyester thread, and a new machine needle. A 1/4″ foot with a guide is great for beginners learning to sew with a 1/4″ seam allowance. I have a few tips for perfecting your 1/4″ seam as you gain more confidence. For now, use that foot with a guide and get started!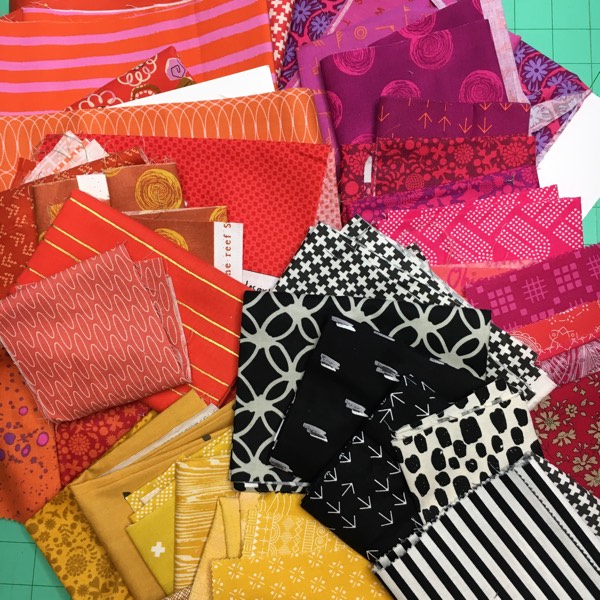
Layout your charm squares into a square or rectangle. As you sew your charms together, work across an entire row sewing one square after the other. To make a row. Sew all the rows, then press with an iron.
Traditionally, quilters have pressed seams to one side, in this case, I would suggest just that. The odd rows are pressed to the right, and the even rows press to the left. This way when you are sewing the rows together your seams nest, lock, or butt up against each other, making it more likely that the seams line up in your quilt top.
The other option is to press your seams open. This can take more time, but the quilt top will be nice and flat. However, it does necessitate using pins to match up any seams. I do both, it just depends on the project. There’s no right or wrong, just what works best for you!
I have a free email course with tips on Learning to Piece Like a Pro – you can sign up here.
Once you’ve pressed all your rows, sew the rows together to finish your quilt top!
Comfort Quilt by Amy Ellis – from Modern Heritage Quilts
Selecting a batting
Batting is a matter of personal choice, but I do want to offer you some advice as you begin. Polyester battings tend to be the most inexpensive, but also the most challenging to work with. They tend to be fluffy, and slippery – both not favorable traits for a beginner quilter.
I suggest that you start with cotton or cotton/poly blend batting. Many manufacturers offer an 80/20 mix of cotton and polyester which offers a stable surface to quilt on without being expensive. Batting is available in various common sizes, you will need it to be a few inches larger than your quilt to easily layer and quilt it.
As you gain experience and desire alternate battings, make a small quilt to try it and test it. See how it wears over time, and with washing.
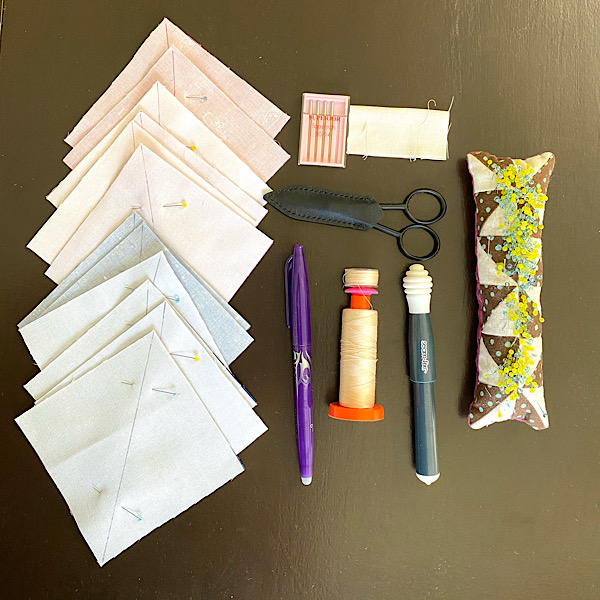
Basting the layers
To keep all the layers in place while quilting, we baste the three layers together. You can pin baste, or use a tacky spray baste.
You need a surface that is large enough to lay your entire quilt flat. A hard floor is most commonly used, but you can also use a table or wall. I have a step-by-step tutorial for basting here.
Quilting
Once you’ve basted your layers, it’s time to add quilting dimension! I always suggest new quilters start with simple straight quilting that doesn’t put too much strain on you or your machine. A walking foot is a handy helper for quilting, as it moves all the layers together.
I walk you through my quilting process here.
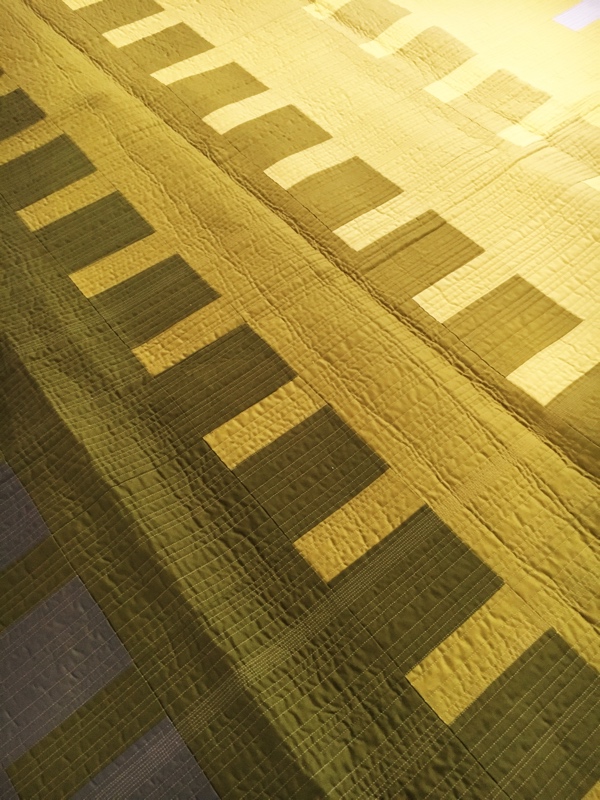
Color Shift by Amy Ellis
As you make larger quilts, sending them out to be quilted is an option. A long arm quilter can easily baste your layers and quilt it, as a service. Ask your local quilt shop for suggestions locally, or find the quilter that you connect with best online.
Binding

Attaching a quilt binding
Adding a binding always feels like making magic to me! The finishing of a quilt with a nice clean edge is so rewarding. I have a step-by-step tutorial for making and attaching the binding. These deserve their own posts, as there are lots of little steps, which is very helpful to SEE instead of just read about.
My first bindings were very creative, and I love sharing what I’ve learned so that you can have a great finish your first time! I have a tutorial to help you hand stitch your binding in place here, and also a post specifically about stitching the corners. They can be the trickiest to get right!
That sums up quilt making! Let me know if you have questions in the comments and I will be sure to answer them there for everyone.
Already a quilt maker? Share this post with a friend that has express interest in learning, or pin on Pinterest.
Happy Quilting –
Amy
PS – looking for your next quilt pattern?
*Affilate links to shops we love and trust are included in this post.

I’ve just read your article, but there’s no mention of a backing material, I mean another material to cover the batting. It looks to me as if you’re just quilting two layers.
Do you pre wash the fabric before cutting ?