
We are continuing on the quilt-along from Think Big this week with Tilt-A-Whirl blocks! This block is a 16-patch with half-square triangles, and quarter circle units. Don’t let those curves keep you from stitching these fun blocks up! They are nice and big, and I have lots of tips to help. If you haven’t cleaned your machine lately, you may want to take a few minutes to pull out all the dust bunnies hiding under your needle plate. Trust me, they appear faster than you realize!
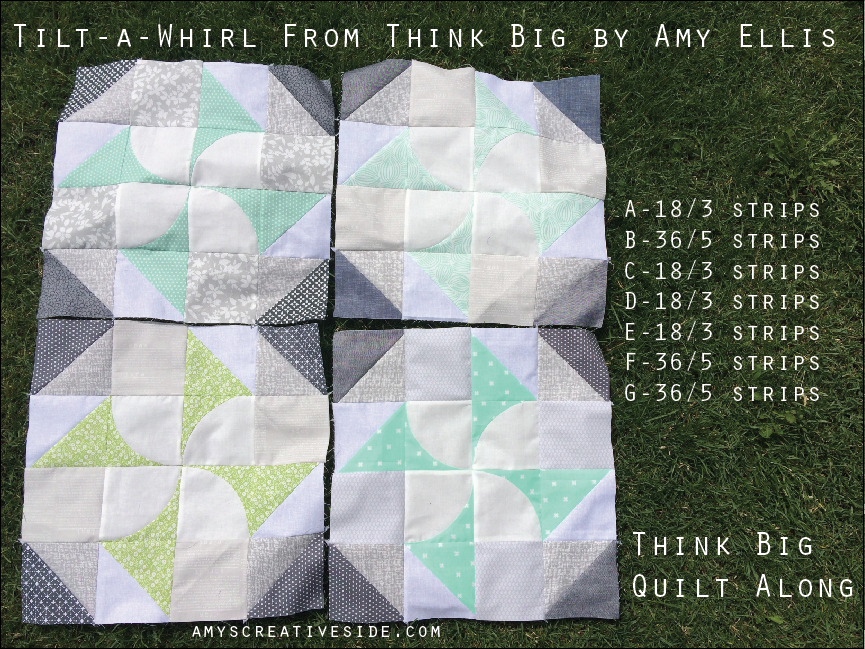
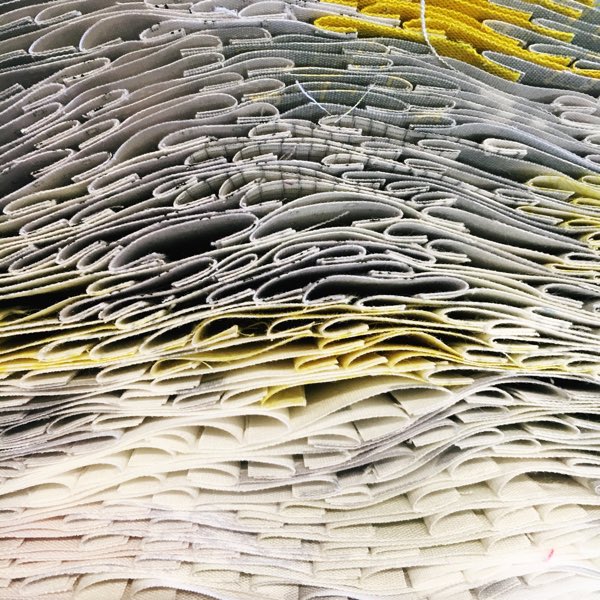
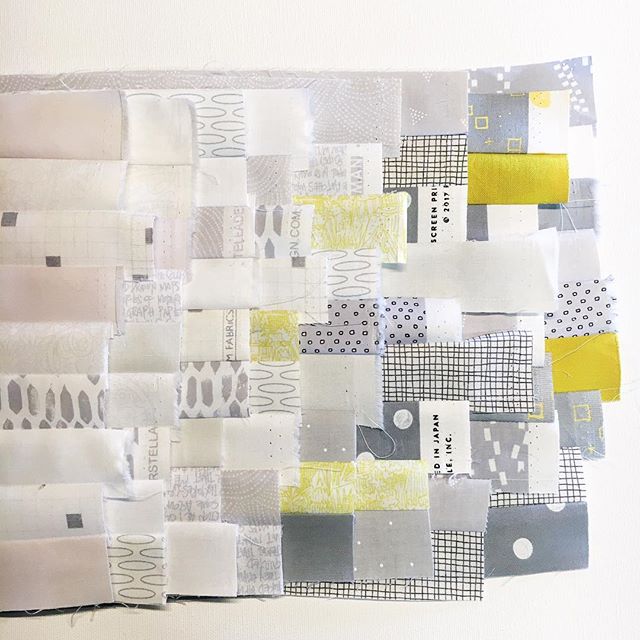
Once again, on the photo I’ve listed the number of each piece, and how many strips to cut from a full WOF to make these four blocks. Go to page 41 of Think Big, and fill in the blanks to get started! If you are cutting from fat quarters, layer cakes, or scrap pieces the number of strips will be less important to you. Just be sure that you have enough of each piece cut.
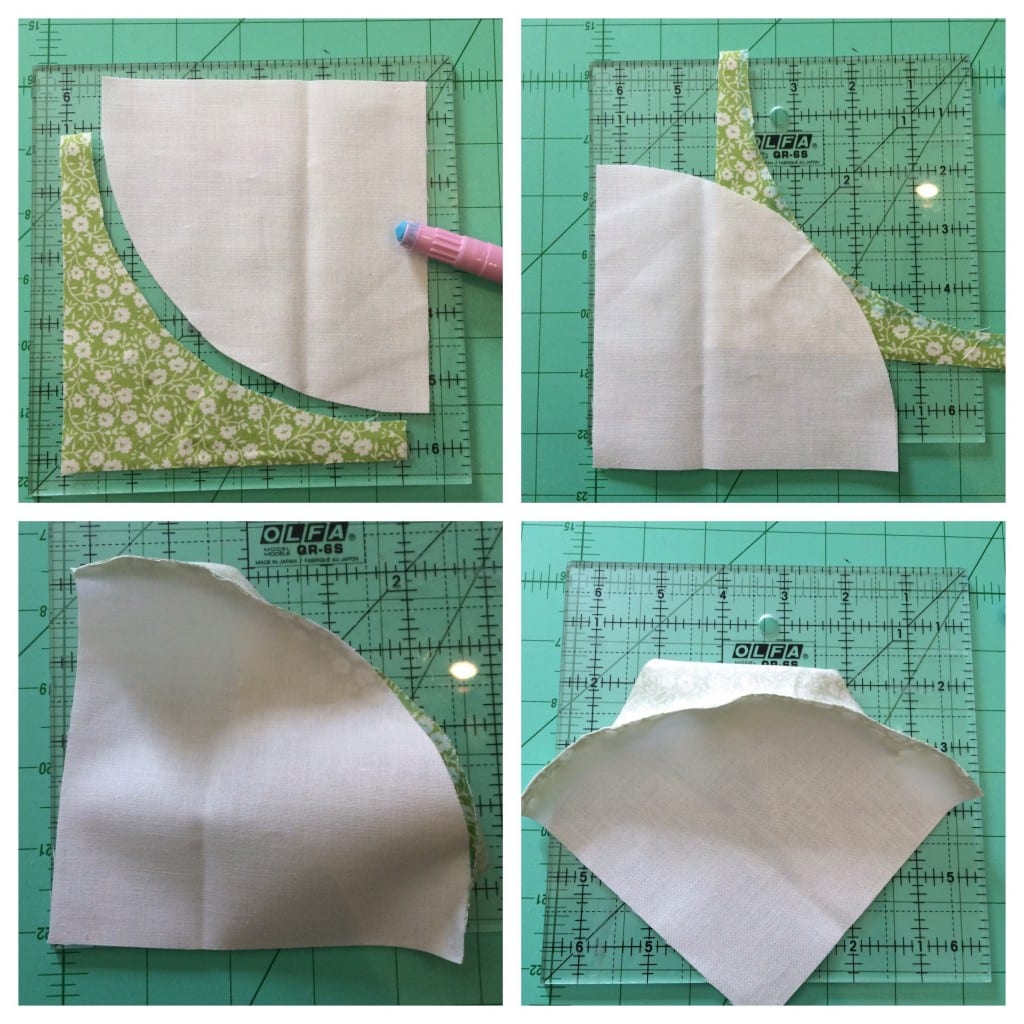
My favorite way to piece curves is with a glue stick. Look at your local quilt shop for fabric formulated glue sticks, as they won’t gum your needle or hurt your fabric, and wash out easily. The one pictured above is from Sewline. Fold a crease into the center of both curves, then add glue to one edge, gently. Match the centers, then each outer edge, and ease the fabric edges together. The curve will want to wrap around your hand as you work. 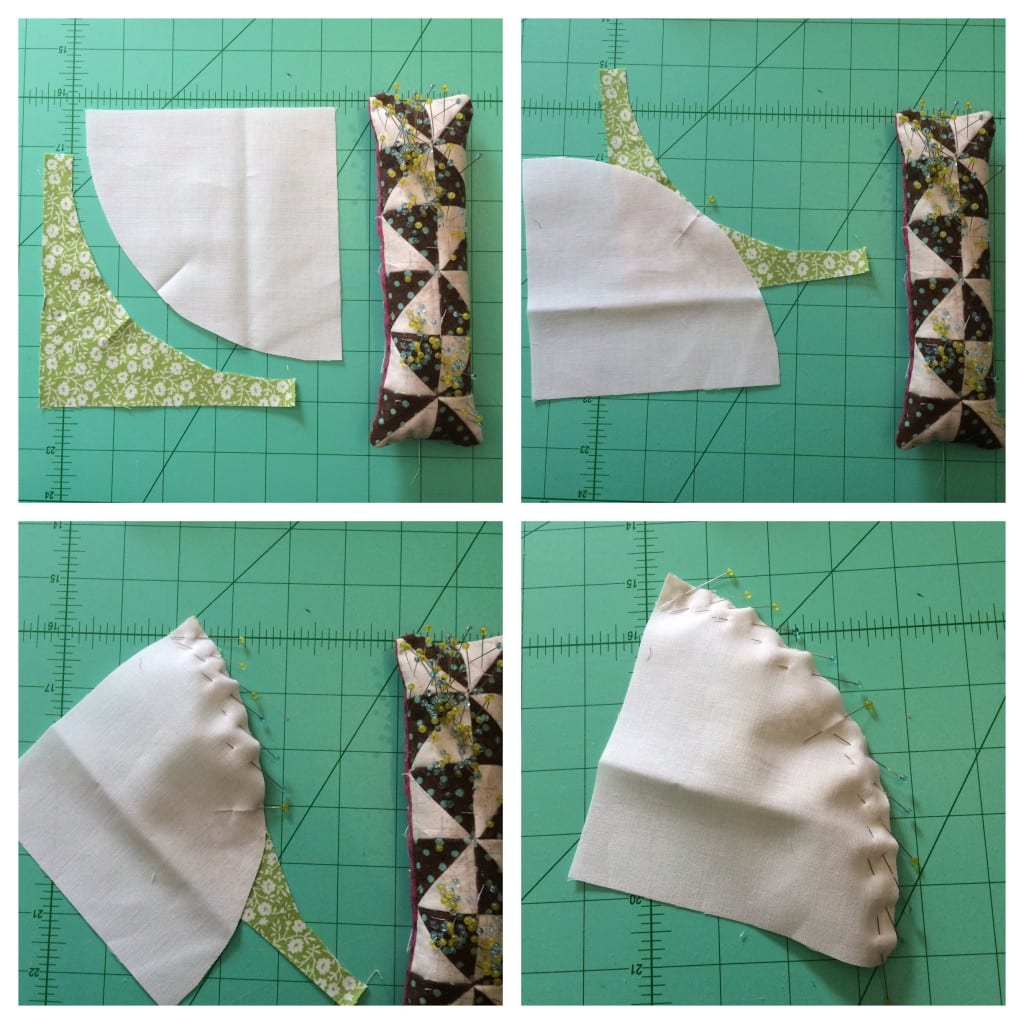
Another great option is your pins, and it is a very similar process. I do use a different angle to pin though, and feel like this angle allows me to sew the curve precisely without a pucker. First, fold a crease at the center of both curves, pin the center and both edges. Then ease the fabric, and pin at about 60-degree angle. This allows me to take the pin out easily at the last possible second, and the edges of the curve to further ease into the curve as I stitch. If you have a different way that works well for you – I’d love to try it, please share!
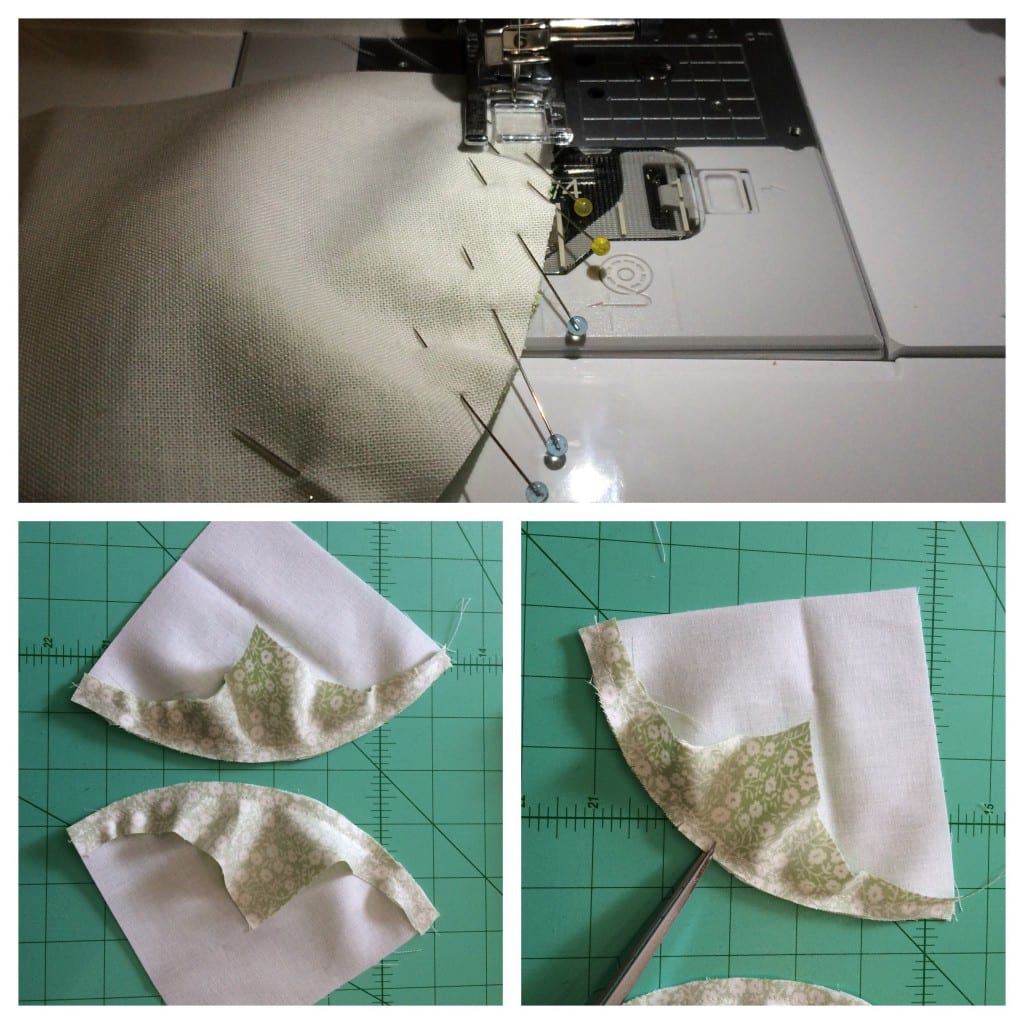
Oddly enough, I sew the pinned curve with the large piece up, and the glued curve, with the small curve up! You will have to see which one works best for you. I clip the seam allowances 5-6 times so that the curve lays nice and flat once pressed. Make sure that you have all your half-square triangle (HST) units in the right direction, before you stitch your rows up. I was sewing late last week, and got one HST in every block mixed up and had to pull out my seam ripper…it happens!
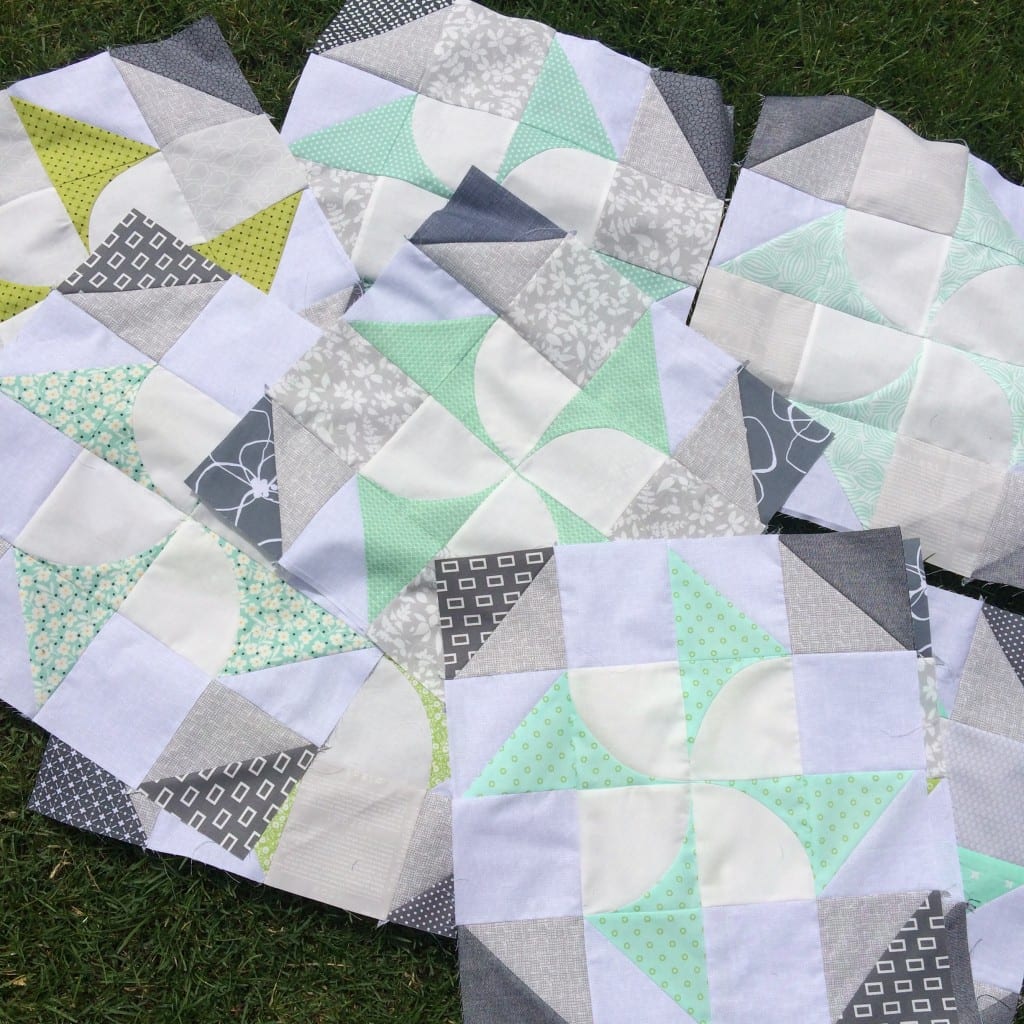
I’ve got my nine blocks done and waiting for us to complete the last set next week! If you haven’t yet, join the Facebook group, and share your work with us! There’s lots of support and color options to inspire you over there too.
Learn more about our quilt-along project, and our schedule :
August 3rd – book & fabric requirements
August 10th – Connections blocks (cut & sew)
August 17th – Tilt-a-Whirl blocks (cut & sew)
August 24th – Equalizer blocks (cut & sew)
September 7th – Layout and Sew the quilt top
September 14th – Quilt the layers
September 21 – Bind it up!
Leave A Comment