
Four Patch Units are a great basic for any quilters design tool box! Having the know-how to make these pretty little units any size, with consistently matching points is a great skill, and one that I rely upon often.
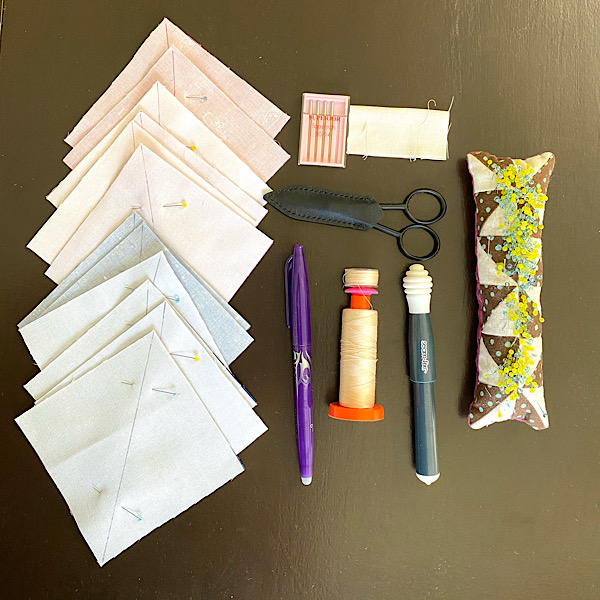
I’m sharing a quick pieced unit here, and in the one-sheet I have instructions for strip piecing if you need to make a bunch of four patch units in a hurry! Let’s get started –
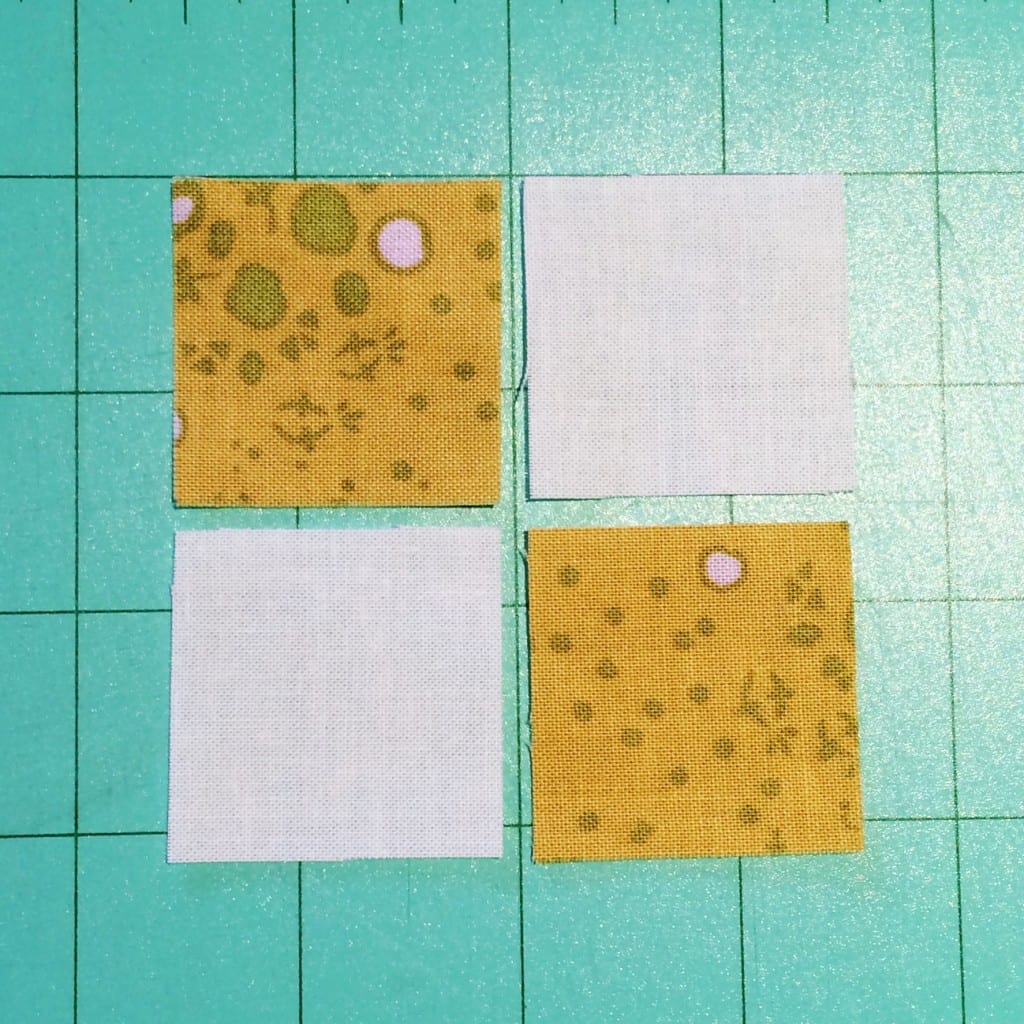
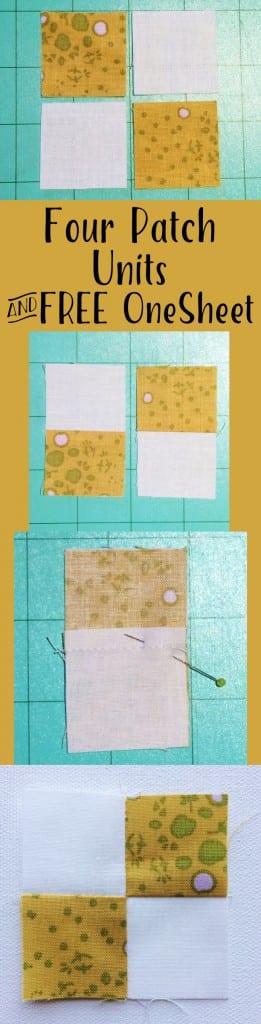
Begin with four 1 1/2″ x 1 1/2″ squares, they can be matchy like this set, or all four can be different. It’s up to you and your project.
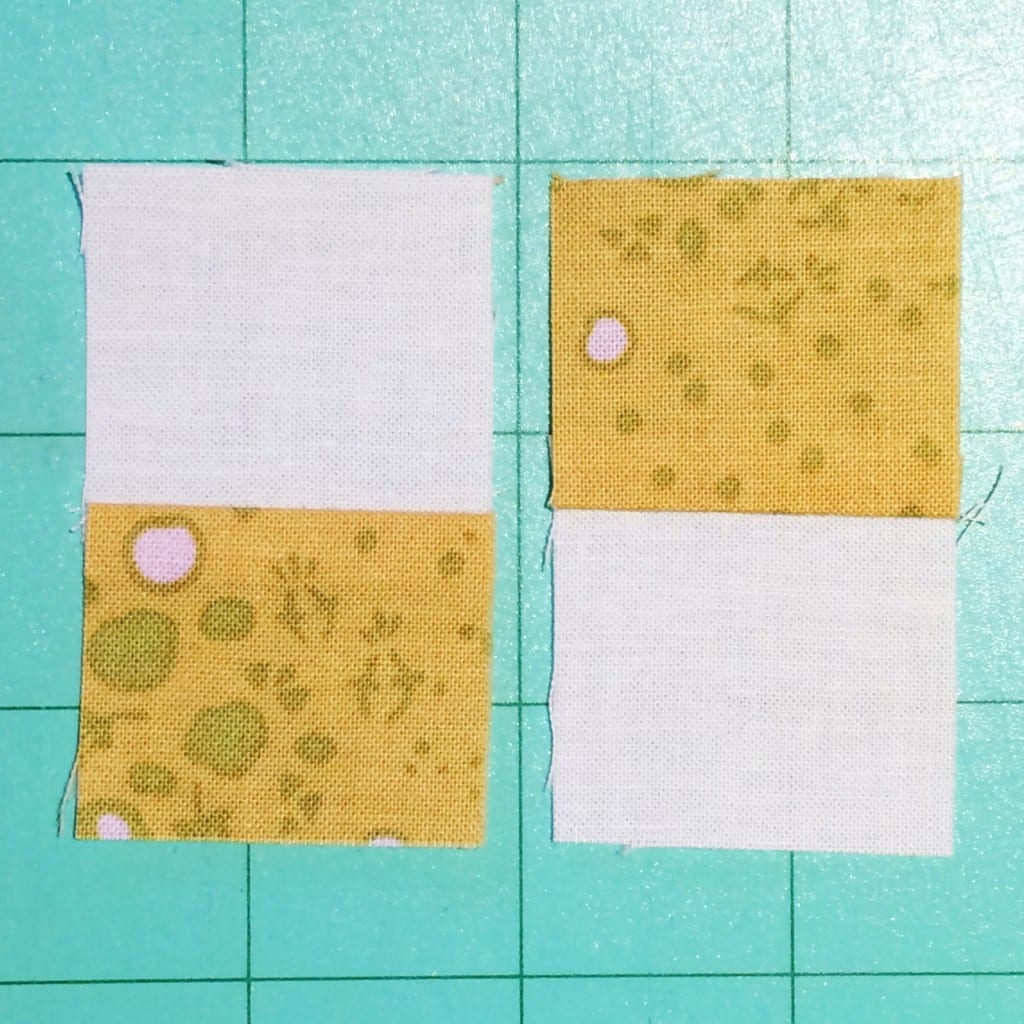
Using 1/4″ seam allowance sew the squares together, top and bottom or side to side. Press the seam allowance to the darker fabric, or in opposite directions.
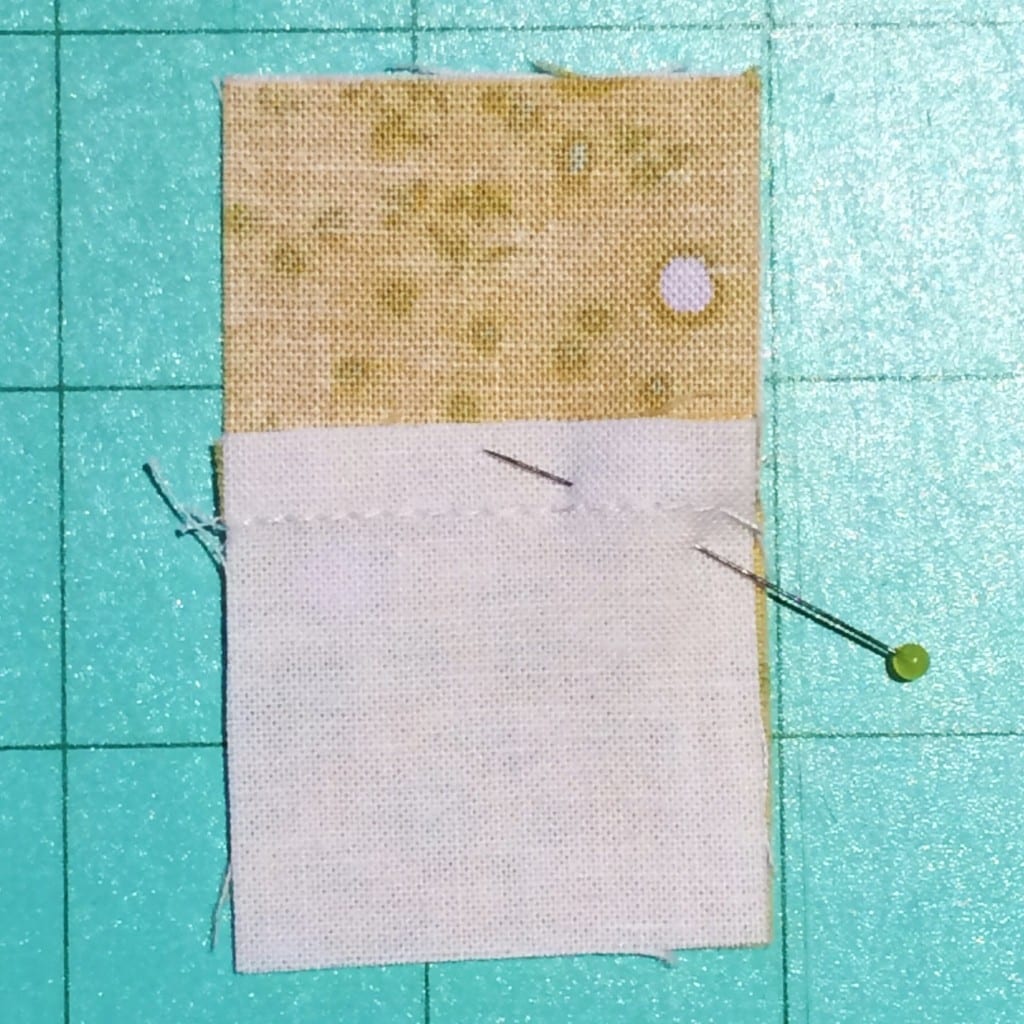
Nest your seam allowances, and add a pin. I don’t always pin, but have found when I need a nice sharp point this is the best way to get stellar results, every time. I’m in both of the seam allowances with one pin, and the pin is angled away from the machine as I stitch. This way I can easily remove the pin before it gets under the needle.
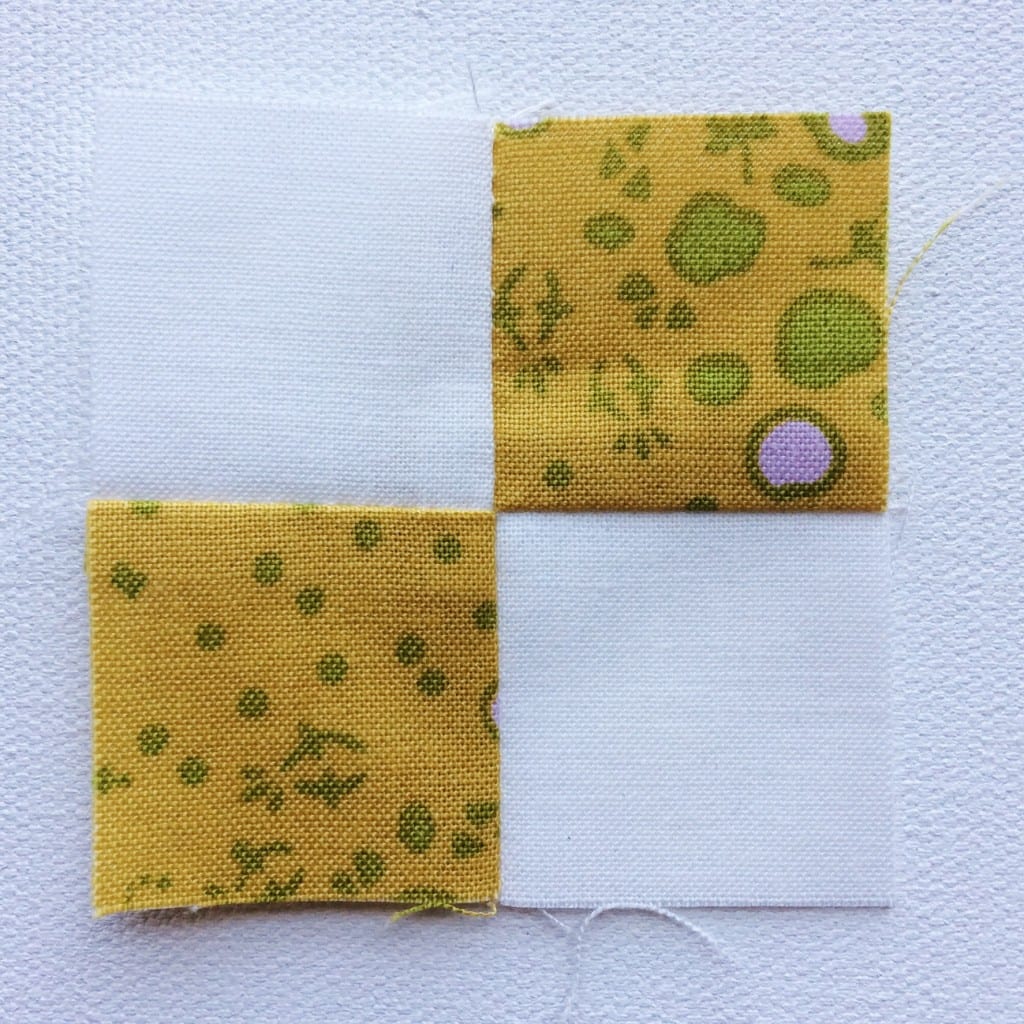
Check your points, and press to one side. A finished four patch unit.
For your free one-sheet, click the button below to download!
Let me know if you have any questions in the comments below, and I’ll answer for everyone.
Happy Quilting –
Amy
Check out the Half-Square Triangle Units two ways next!
Also, learn more of my tips for piecing your quilts sign up for my free e-course Learn to Piece Quilts Like a Pro.

Leave A Comment