
Adding a quilt sleeve is an important detail to add to any quilt that you plan to hang! With Quiltcon around the corner, and my Maverick quilt accepted to hang there next month, adding a sleeve was at the top of my list this last weekend.
Here’s how I did it!
Cut two width of fabric strips, 9″ wide, if you are hanging a quilt that measures more than 90″wide you will need to cut a third strip as well.
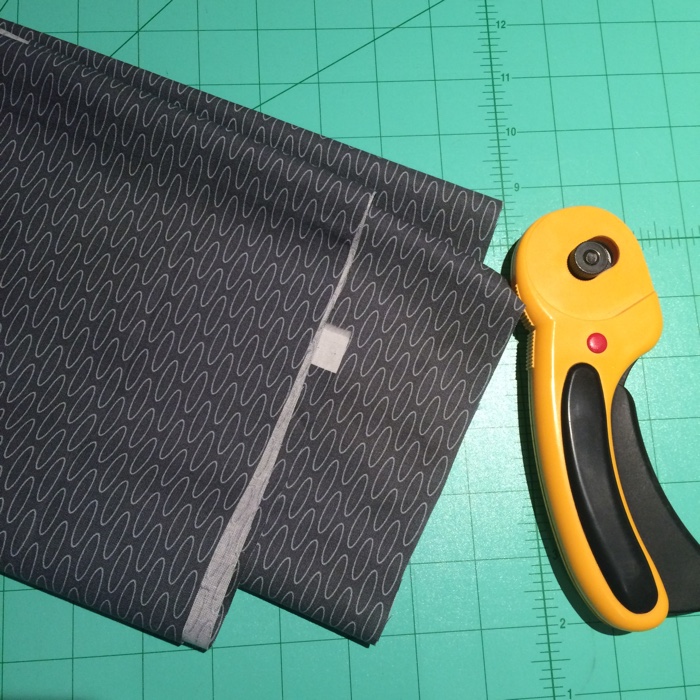
Measure the width of the quilt, and cut the length as necessary. I usually aim to have the unfinished length, the same as the width, then once I’ve hemmed the ends it’s slightly smaller than the quilt and won’t show when hanging.
Sew the two pieces together, end to end, and zig zag the seam allowance flat.

I like to make sure that nothing will snag when a rod is sliding through the pocket.
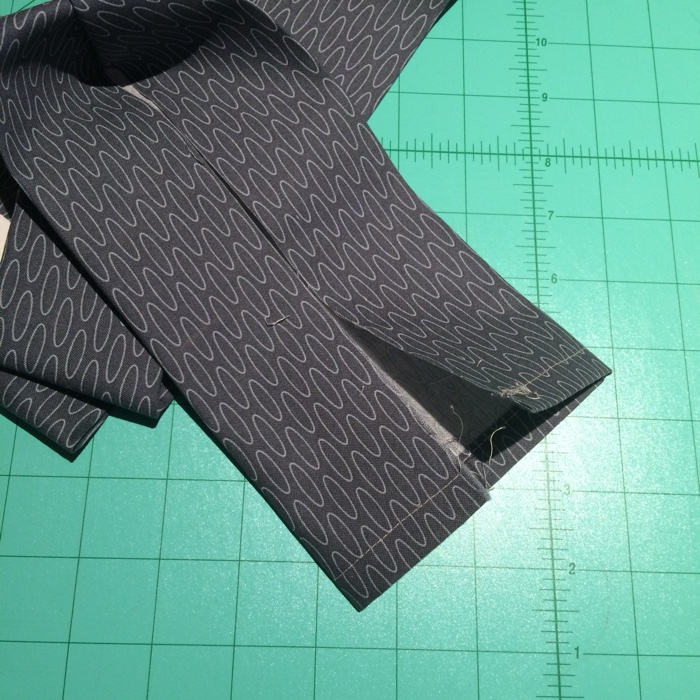
Get your iron hot, and press a hem into the ends, I use a 1/2″ hem. Fold it over twice so that there are no raw edges (Clover Hot Hemmer shown), and top stitch in place.
Next, press a good crease into the length of the sleeve, by folding it in half. Then fold the raw edges into the center crease, and press again. I work one side at a time so that I don’t loose my center crease. Use any steam or spray starch you like to really get a firm crease.
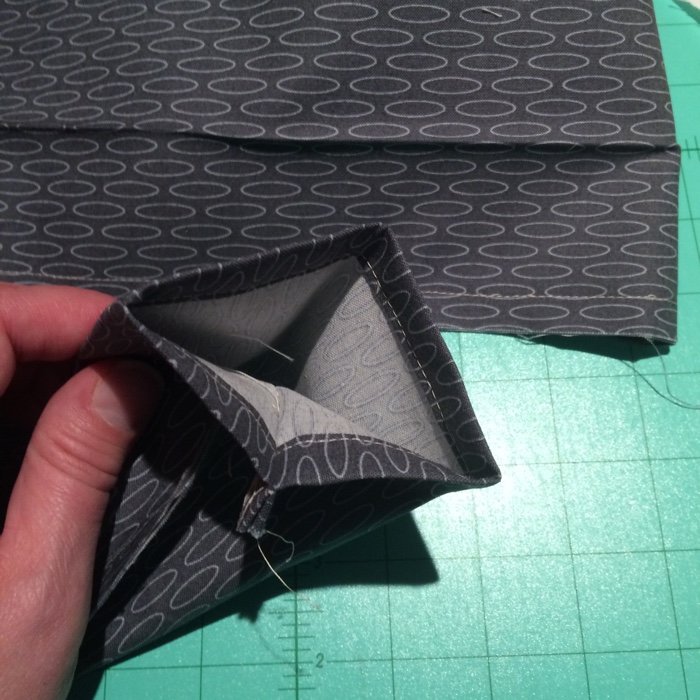
Wrong sides together, sew the length of the sleeve using a 1/2″ seam allowance.
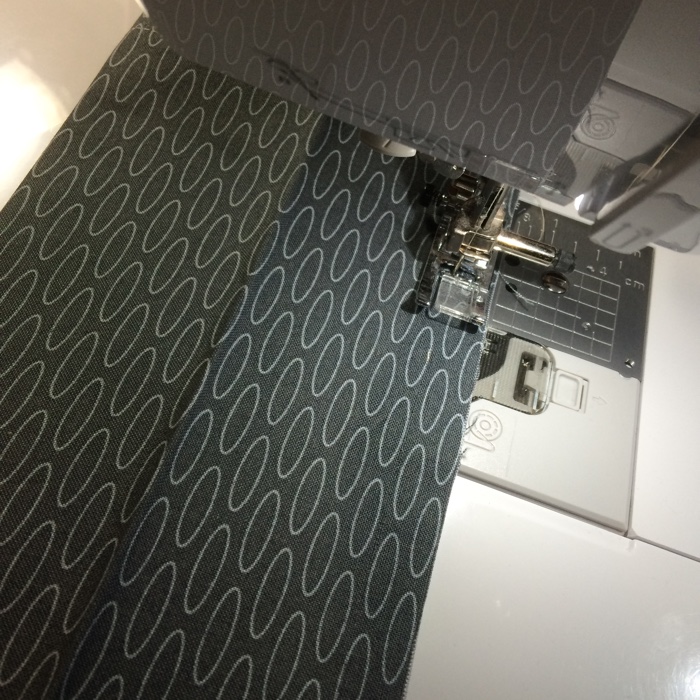
Notice my creases are still visible. Sewing with the wrong sides together eliminates any extra bulk in the sleeve.
After stitching, you will have a triangle shape sleeve for a rod to slide through and allow the quilt to hang, now we just need to attach it!
Using the creases as a guide, measure 1/2″ – 3/4″ away from the edge of your quilt top, and pin the sleeve in place. Once the top line is secure, I gently tug the sleeve down, to make sure it’s laying flat. Also smooth the seam allowance in one direction, then press it flat before pinning the bottom edge in place.
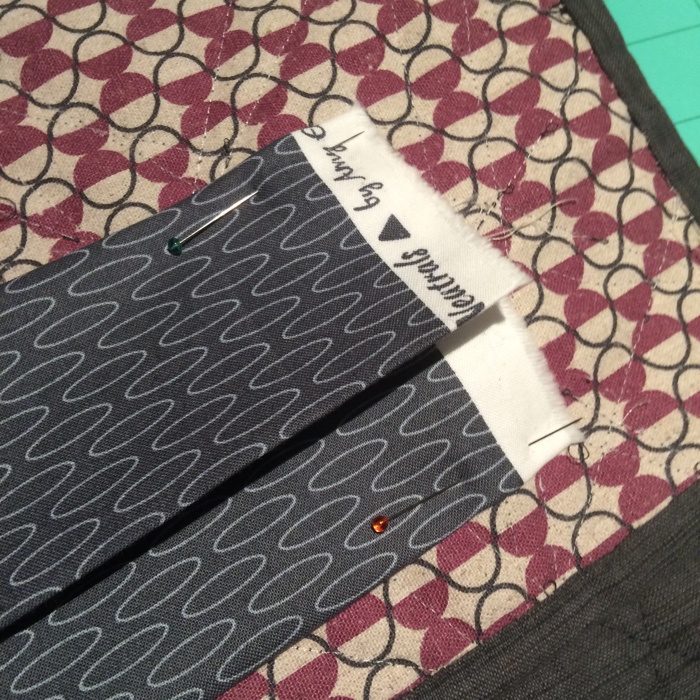
I only hemmed one side of my sleeve, and left the selvedge in place on the other end – no need to make more work for myself!
Finally, you need to hand stitch the sleeve in place. This feels a lot like stitching a binding to the back.
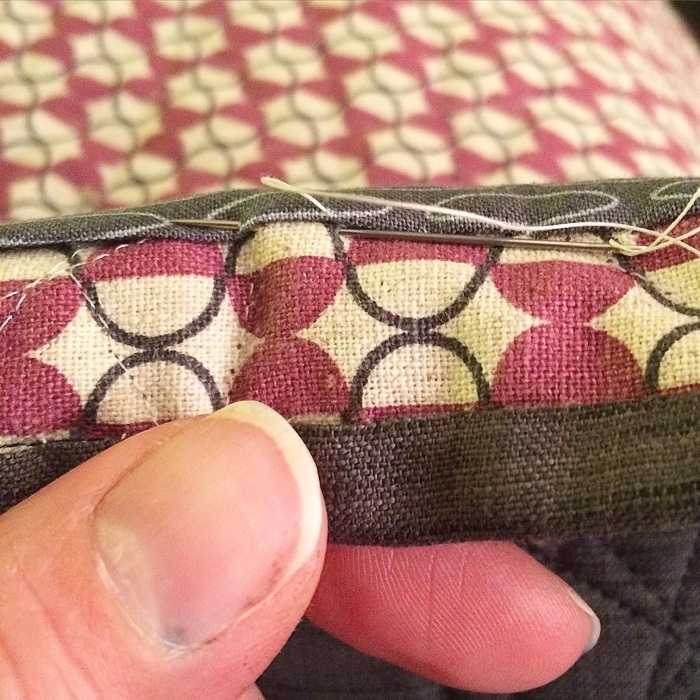
Careful not to stitch through to the front, and enjoy the process!
Great instructions Amy! I pinned it so other quilters can find it too!
Thanks Lara!