
Before I jump into this – I thought you would like to know that Fat Quarter Shop has a giveaway happening right now for my Blogger’s Choice Bundle – go visit for your chance to win!
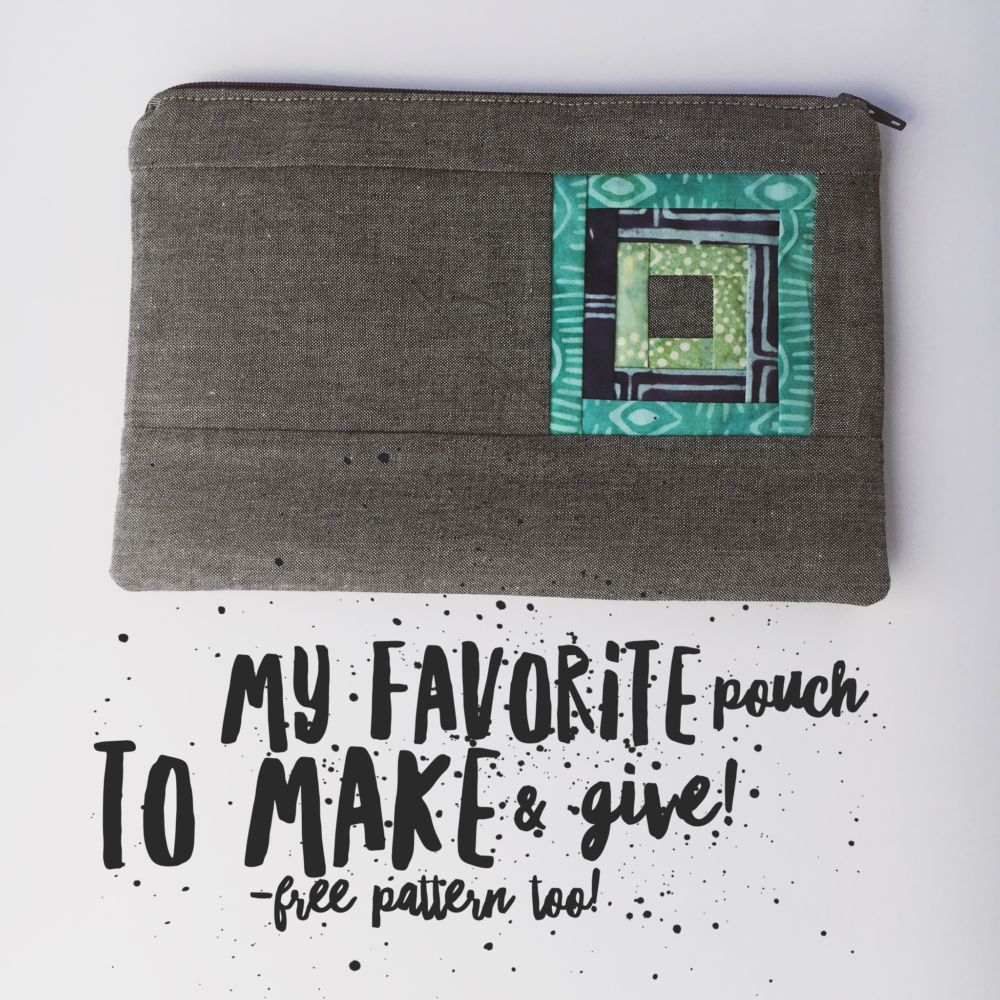
I know that there are tons of zip pouch tutorials out there, but thought my directions could be helpful, and I really wanted to introduce paper piecing to anyone looking for a simple place to begin. I’ve had so much fun incorporating these blocks into pouches, they can be as simple or complicated as you wish, and it’s just one block!

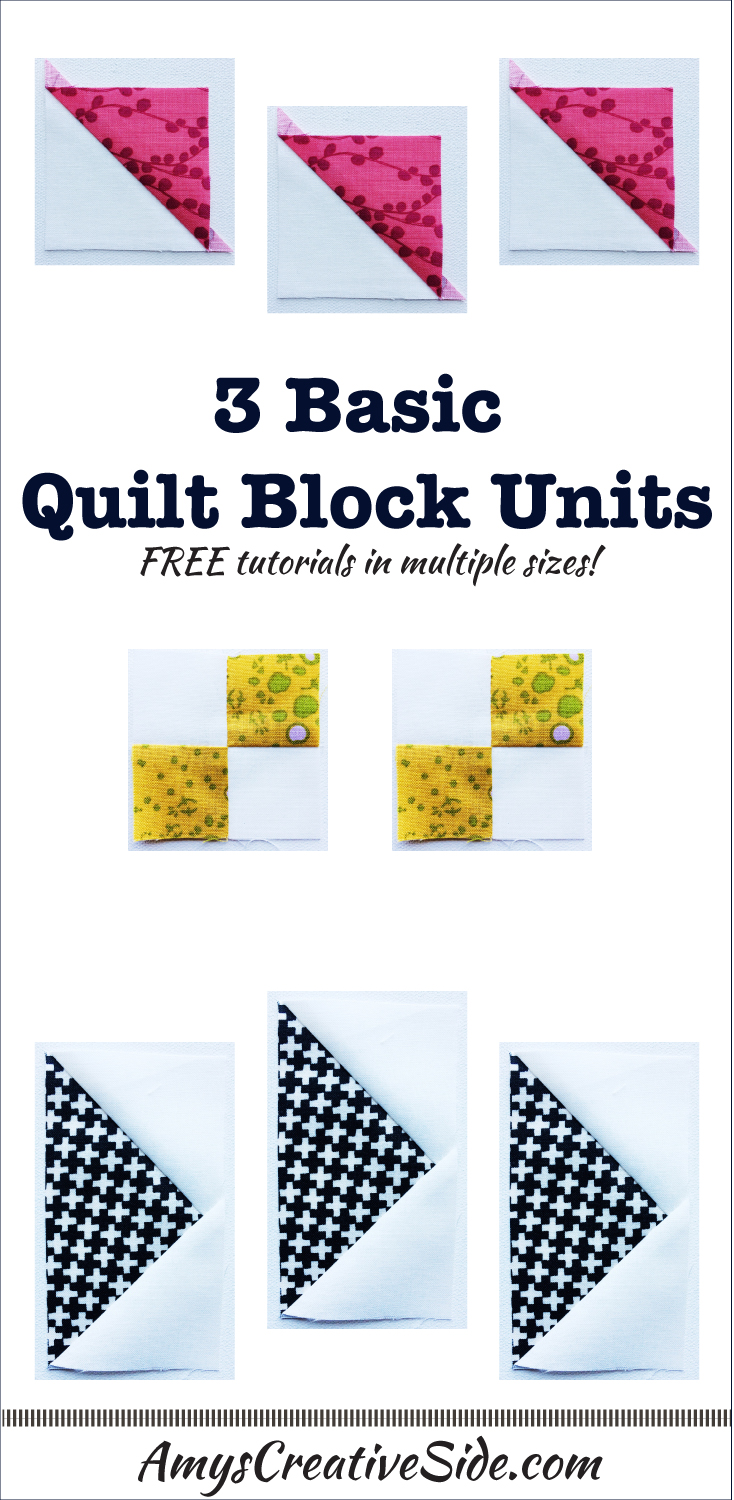
I use EQ7 which has loads of blocks, however you can easily draw your own, or google “paper pieced blocks” for a variety of free blocks available online. I drew this block on graph paper, which is great for small blocks. You can also use newsprint, or copy paper, depending on what you have available and how large you would like your block to be. This was drawn at 6″ with 1/4″ added around for seam allowance, so 6 1/2″ total.

Some blocks will need to be pieced in smaller units, strips or quarter blocks are common.

To paper piece , I like to use a little extra light. Daytime it’s the window, but the indoor lights work at night too. I taped it to the window in order to take a picture, that won’t be necessary for you. Before you sew, shorten your stitch length, somewhere around 1.5 – this will help you remove the paper later without harming your stitches. Lay your fabric face up on the front of the paper, (we are looking at the back) find your pieces for the next round of corners and lay it over the sewing line so that it overhangs by 1/4″.
And sew on the line. I usually add an extra stitch to either side, and any seam allowances if on the edge. Trim away any excess, give it a quick press, and continue on with the next piece of fabric. My fabric bits were overly large, I was too lazy to bother with trimming them down, you really just need 1/4″ of excess all the way around.

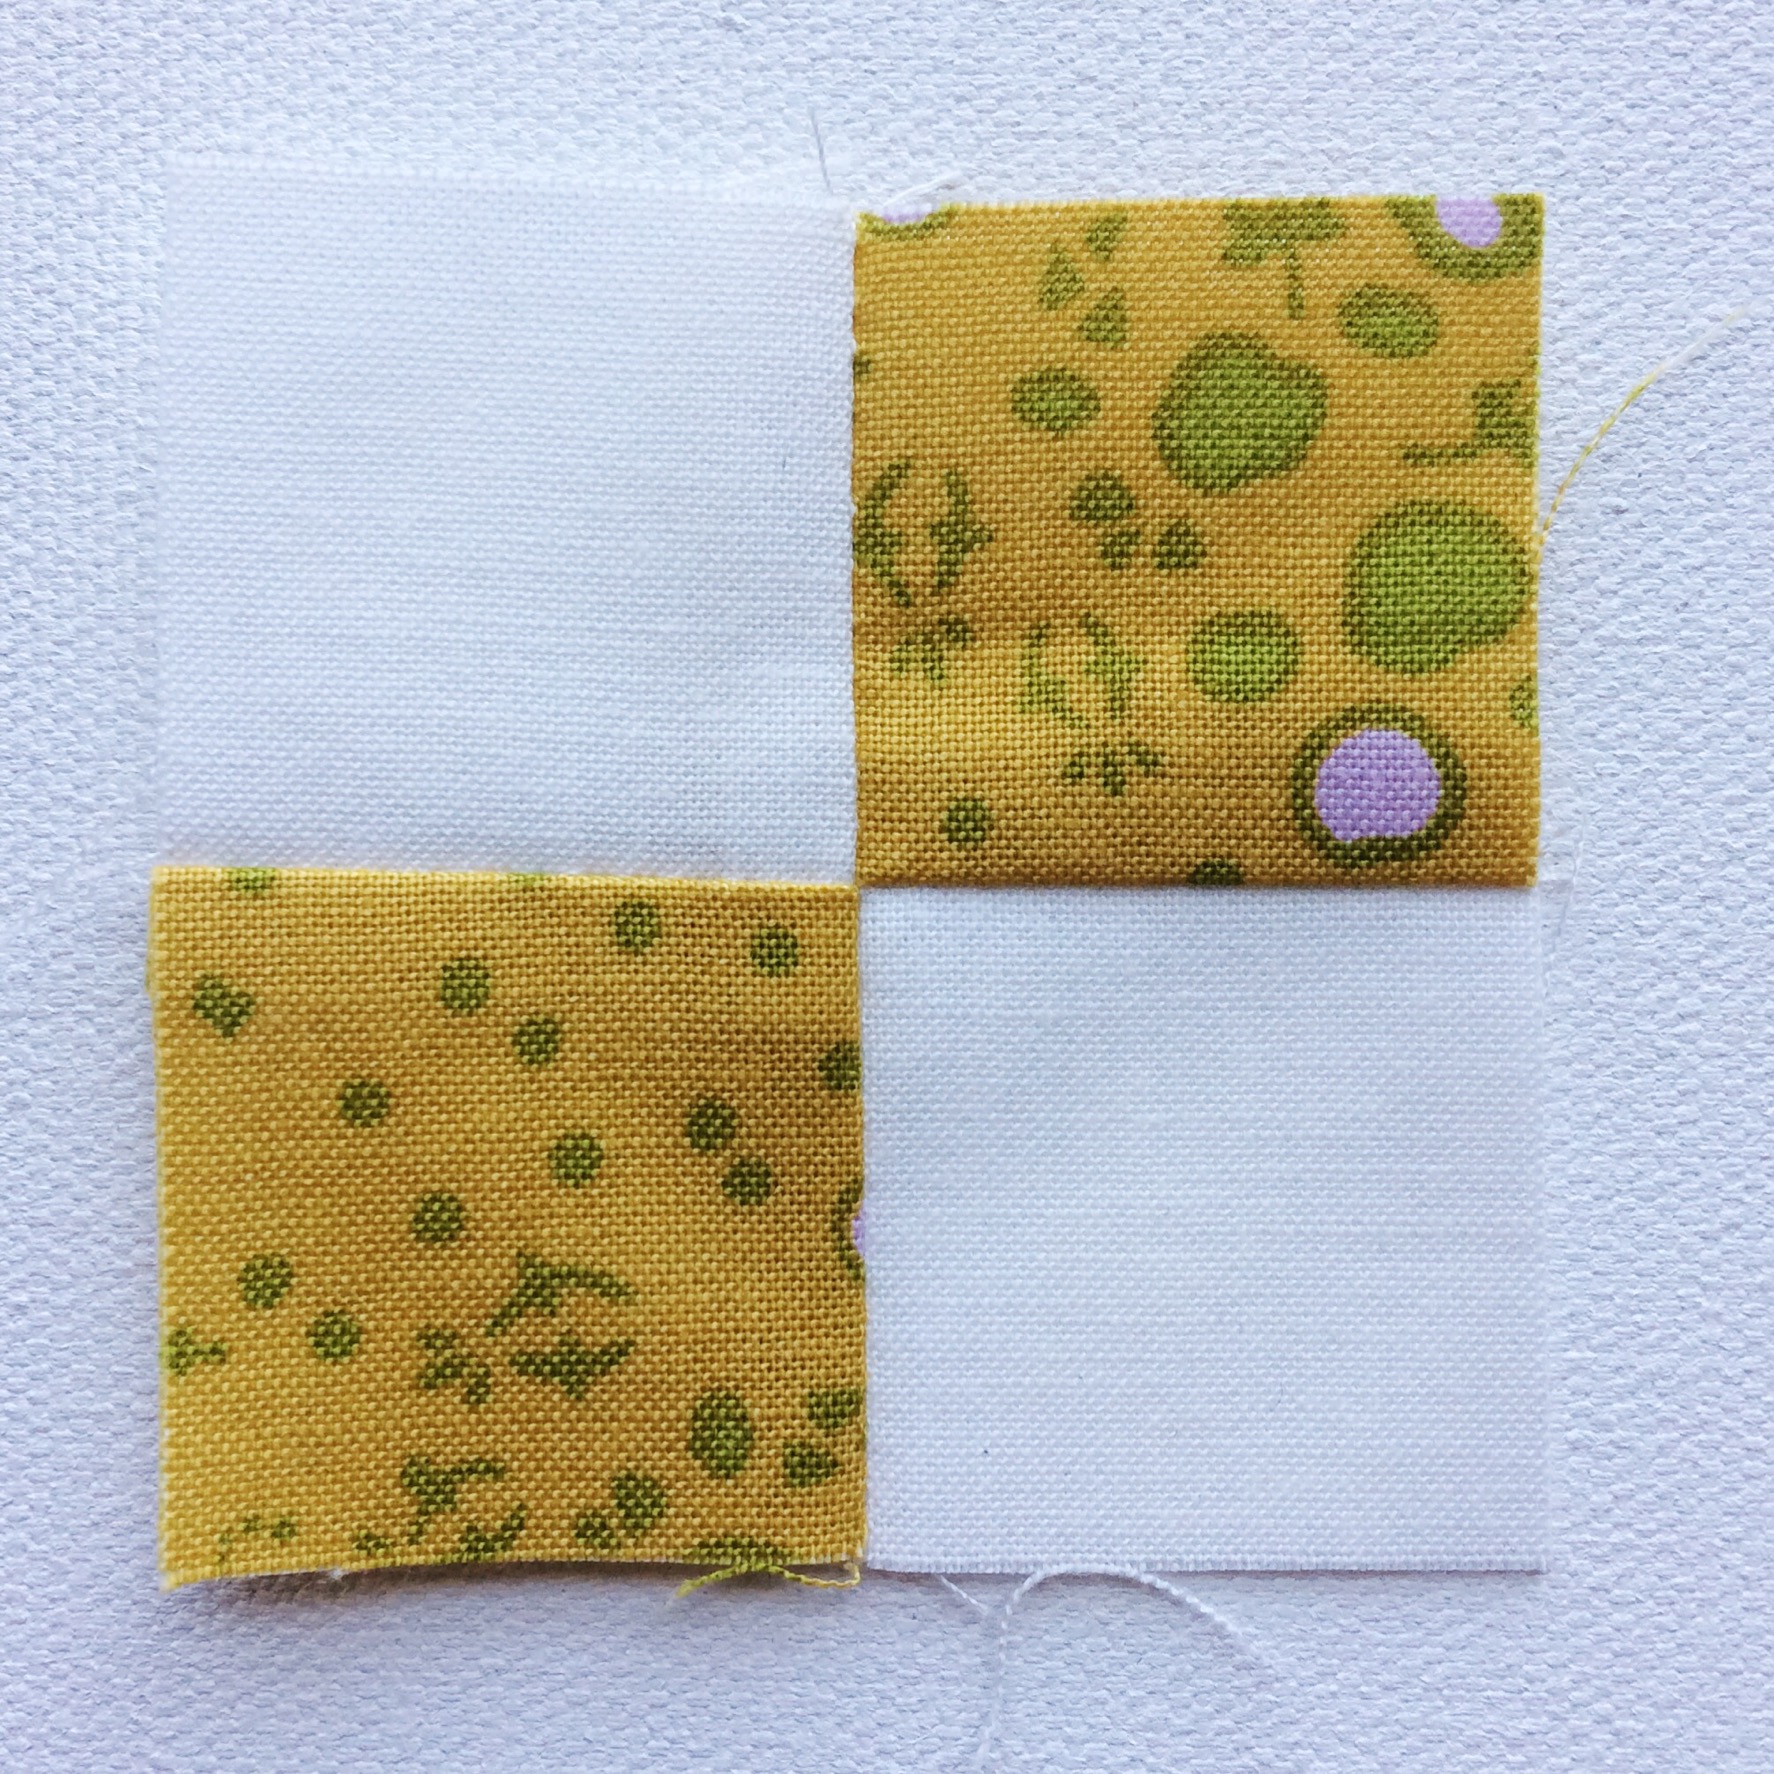
Add more pieces and trim as you go. Check your block as you go, it’s nice how perfect it can be by simply following the lines! Once you’ve sewn all the pieces in place it’s time to trim your block.

Using your rotary cutter and ruler, trim away excess paper and fabric. Leave the paper in for now. If you are piecing a quilt, you would sew all your blocks together then remove the papers.
Quick admiration shot – love those prints!
To now incorporate this into a pouch, determine what size pouch you would like to make. I wanted this to be 7″ x 9″, and I worked up the panel to 7 1/2″ x 9 1/2″ by sewing a 1″ strip to the top and a 3″ strip to one side.

Cut 3 more panels at 7 1/2″ x 9 1/2″, and 2 layers of Fusible Fleece. I like this product in the pouches for cushion, and a bit of heft to the fabric without the stiffness that some of the heavier weight interfacings might add in this application.

Remove the paper from the back of the block, then steam the Fusible Fleece to the exterior panels.

I used a 12″ zipper, since that’s what I had on hand, if all you have is longer, quickly bar-tack it to the length that your pouch requires. I love Lapel Stick for these next few steps, the exterior of the bag goes on the outside of the zipper, then turn over and add the lining panel in the same manner.

If you are using glue, I suggest walking away for a couple of minutes to allow it to set. Then stitch through all the layers with your zipper foot.

After sewing, turn the fabric back, and press it away from the zipper, then top stitch in place.

Repeat with the remaining panels, on the other side of the zipper. Matching up the edges as much as possible on both sides of the zipper.

With that done, it’s time to sew up the pouch! Open your zipper about half way before continuing. Matching corners and zipper edges, pin the edges leaving a 3″-4″ gap in the lining. The zipper teeth should all face the exterior with the tape toward the lining.

Sew with 1/4″ seam, around the pouch, leaving the opening in the lining.

Clip the excess away from the corners, and zipper tape. Then turn right side out through the opening. Gently press the corners out, making sure everything is in place, then pin and sew the opening in the lining shut.

Push the lining inside, and press flat with your iron.

Presto! A super cute and functional zip pouch. This one is keeping some electronics safe.
What do you think?
Have you ventured into paper piecing yet?
Or are zippers your hang up?
Start simple and give it a try! These are great little gifts, and so fun to make!
I hope you give it a try!
Amy
Fabrics used are Delighted! by The Quilted Fish for Riley Blake
Thank you amy for a great tutorial! It’s time for me to try paper piecing! Pouches we all love and yours became a beauty!
Thanks, Amy! I really love the way you laid this tutorial out. I’m comfortable with paper piecing though I would like to learn to draw my own. Zippers are my hang up but this is the year I will laugh at them in the face. :-)
Thanks for the directions…I just might give this paper piecing a try….
I feel alright with paper piecing now, but for some reason trying a zipper scares me. It’s on my bucket list for this year though. Cute and fun tutorial. :)
Thanks for the FQ Shop info. I have gone there and made a comment. Love your pouch.
I’m a zipper chicken… I know, I know. I’ll get the hang of it once I do it. It’s just doing the first one. Just like paper piecing. That’s a cute little bag!
I love this! Working on my first paper piecing now and really enjoying it. I’m going to add this to my project list!
Great tutorial! Thanks so much :-)
Cool! So cute!!!!! Nice tutorial!!!!!!!! i so want to try paper piecing. I just haven’t found the time.
I shall try this paper pouch too. I’ve been a fan of origami. Do you know that Japanese art of paper folding? I’ve created other forms like flower vase, bag, and many more.
This one looks unique. Thanks!
-Charmaine
Lovely! I would definitely this one out with my sisters. They love making something out of paper too! Where did you get this idea, by the way?
This is very unique. Thanks for sharing the steps!
-Karen
Thanks for the tutorial! I can always use another pouch, so can the kids. Paper piecing is fun. I have a 12 X 12 quilt that was paper pieced. It is nice to something different from time to time. Thanks again!
Awesome zipper pouch… I have not adventured with paper piecing. Your tutorial really makes it very approachable.
Have a great day.
Always, Queenie
This is lovely, Amy, thanks for sharing! I’ve been wanting to try out paper piecing for a while and need to practise zipper pouches for a swap, so your tutorial has come just at the right time :)
Amy, thank you so much for the tutorial. It is very clear and easy to follow. Paper piecing has been a long time favourite of mine and after your tutorial I can see zippered pouch making will be too! I bought some zips last week and they have just sat there ever since….I think I was subconsciously ignoring them! lol Now I can’t wait to start.
I have yet to try paper piecing and yes zippers scare me. New to quilting but realize making me some bags would come in handy. Appreciated the good walk though and examples. Will work on the urge to paper piece.
http//richardquilts.blogspot.com
This has to be the coolest tute ever!! I’ve tried some easy and small paper piece projects but this looks like something that I could do – thanks for sharing!!
I love pouches!! This one is super cute…cute enough to entice me into trying a little paper piecing ;) Thanks for sharing, Amy! Smiles~Beth
This is the same block that my Mom intro’d me to paper piecing with last year. She came to visit and taught me the basics. Cute tute!
All I can say is wow this is beautiful
super cute! and Free! woo hoo! you should call this one The Double Whammy☺
really cute. fantastic tutorial and love, love your fabric choices!! i have a couple paper pieced ladybugs that would look cute this way–need to make one for my cute teenage granddaughter. thanks so much for sharing and have a great day
Fabrics are awesome! I am going to try this next month sometime. Bought the pad of quilting graph paper yesterday at Joann’s for half off.
So glad I found your wonderful tutorial! I recently started paper piecing and have been wondering what the heck to do with all these blocks, since I don’t really want to make a quilt. Your pouch is gorgeous, and your tutorial is very clear. Thank you so much!
Great write down – I confess We’ve thought of new entries for my very own blog. Lots of interesting content here. Continue.
You do beautiful work!
It really is best time for it to earn some ideas in the future and it is time for it to feel very special. I’ve learn this post in case I could just simply I need to would suggest you few attention-grabbing things or strategies. You could can certainly create pursuing reports in regards to this document. I must study all the more concerns regarding this!
I tried paper piecing recently and the book I read suggested using lightweight non fusible interfacing for the paper. You don’t have to cut it out afterwards. It worked great for me and it stabilizes the fabric well. Cute bag and design.
This is really lovely! I would definitely try this one out with my sisters. The direction which you have shared really helps. They love making something out of paper too! Thanks a lot.