
Hi friends! How was your weekend? Did you pack everything you could into those precious hours? I sure did! Joe and I had a great time celebrating our 11th anniversary. He had reservations to the restaurant that we thought we went to the night he proposed to me. Turned out to be a newer restaurant, with amazing food, so we were happy! The rest of the weekend was full of family, friends and sewing – all the way around good! Now I just need to catch up on some sleep and get myself on my self-proposed schedule this week before school starts…I’ll let you know how that goes. All I have to say is “I’m a night owl”.
—–
Now that we have all the blocks made, it’s time to put them into a complete quilt top.
Here’s what you need:
40 – 2 1/2″ x 12 1/2″ rectangles (or the length that you trimmed your blocks to!)
25 – 2 1/2″ x 2 1/2″ squares, mine are all the same, but you can mix it up if you want.
 A word about sashing:
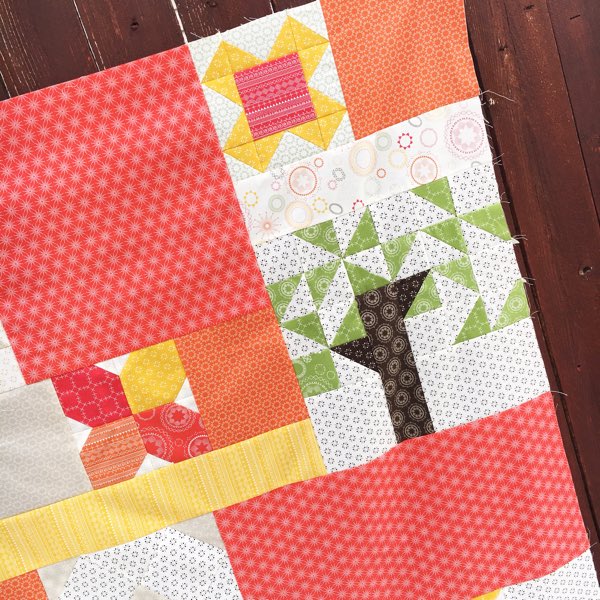
Most of my quilts do not usually include sashing, talking with my mom the other day, she even asked – why sashing? With the variety of blocks in our tops, the sashing works to unify all the different styles. I looked at it without the sashing when designing the quilt, but it just wasn’t working. Each of the blocks needed their own space to shine!
 Before you even try to figure out layout, add sashing to each of your 16 blocks. To the bottom, and right side. For the right side, first add your 2 1/2″ square to 16 of the long rectangles. Add the bottom piece first, then add the side unit.
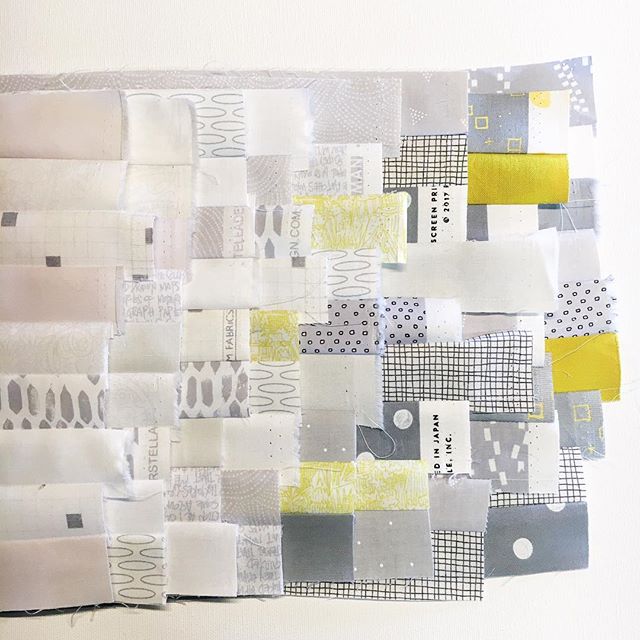
 After sewing and pressing, you are ready to decide where things will go. here’s a look at my progression –


Personally, I like to have my corners anchored with color, then work around those.
 Now, sew small squares to 8 long rectangles. Then add to the units to the blocks on the top and left side. You will have one more square to add to the corner, add it to the rectangle/square unit. Sew the top units first, then add the left side. Carefully pin, sew and press as you work. With those added you are ready to sew your rows together! Work across one row at a time, or pin and sew pairs, just don’t loose your order! I worked fast to get this off the floor before dinner, while the kids were playing outside, and Owen napping.
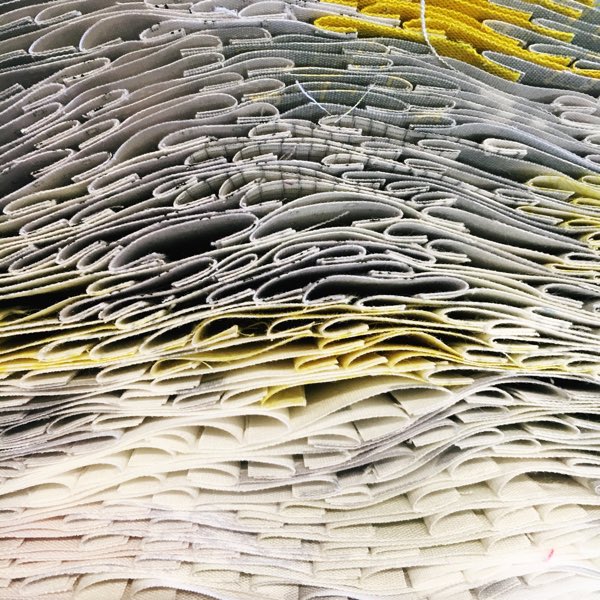
 My complete quilt top! I took it outside to take a few pics without ugly linoleum. I love all the prints, and colors! I just need to decide on quilting…I’m almost there.
I can’t wait to see all of your tops come together – I love how different each of the fabric selections make the quilt. After you finish come back and post a permalink here:
Please let me know if you have any questions!
Happy Quilting!
Amy
It looks great! Hopefully I will have my Christmas-themed one finished in time for Christmas. :P
Yours looks awesome Amy! Thanks so much for putting this all together!! I Can’t wait to finish mine, I think this weeks progress will be slower though as we get ready to go on a road trip starting saturday morning we are headed on a geocaching adventure taking us 3000 km in 6 days! should be fun and action packed!
I’m behind with my blocks – darn holidays! – but this is inspiring to me! Can’t wait to see them all together. I may even make a few more blocks to get this quilt to about twin size. Thanks again for a great quilt along, Amy!!
Congrats on your anniversary.
I finished mine and can’t wait to see it all quilted.
This is Beautiful ! I looked at Brittany’s also , and hers is too ! I need to go to joann fabric and get a 12″ square to get mine squared up , and GET BUSY .. ( since I’m not as experienced as most of you , I want a squared ruler to be as accurate as I can be since my squares are different sizes ! HOW EXCITING THIS IS !
Congrats to you and your husband !
I am *so* very glad you posted this! I love that look, but have always steered away from it; I won’t anymore! It’s far simpler than I thought it was. Thank you!!!! :)
My mom and were talking and maybe we missed it, but the little setting block take up almost an entire fat quarter. it may be a good idea to let people know that at the begining. It’s seem like that depending on how you choose your colors you may not have enough of one fabric for that block. It would be better possibly to let everyone know at the begining of the project they need that amount of one. …… Not a major problem just a thought. I’m tired hope this make across correctly.
I picked up my saching fabric today! i still need to upload my photos. I am very happy with my squares
I got my quilt top done today, and I like it very much. Today was alot of work, and so it took alot of time. I really like the sashing with the corner squares. That was a good design decision, Amy. Thanks for showing us how to do it.
I put my pictures on flickr !!! don’t look TOO close , or you’ll see all the stuff that didn’t quite match up !!!!
HOLA AMY
TE DEJO MI COMENTARIO PARA AVISARTE QUE YA TEMINE MI SAMPLER FALTAN DETALLES PERO YA LOS TERMINARE
GRACIASSSSSSSSSSSSS
BESOSSSSSSSSSS
HASTA EL PROXIMO SAMPLERRRRRRR
Well, I got it done. I love my squares but not the color of my sashing, so I’m going to take them apart and find something different!
Happy Anniversary!
Thank you for making quilting fun, easy, and exciting! This was a lot of fun. I love how my top turned out and can’t wait to finish it up!
I finish the sashing! I love my quilt top. I have about 60 hours put into it. I am not a very good blogger but I will post the pictures on Flicker now. Cant wait to buy the material for the backing and continue on to finish it…Thanks Amy.. Lucy
preciosso
Very nice pattern!!!
I just realized I never posted my finished top. How silly of me. I loved putting this quilt together. I am not sure what kind of back I want. Do I want really crazy and wild with lost of colors or plain and let the front speak for itself. I am leaning for just putting black on the back and to use for the binding. I love all the quilts everyone has made. Very nice.
Better late than never! I’m finally finished with the sashing and I love how it looks. (Mine has 4 bonus blocks!) Thank you again, Amy, for providing the instruction and inspiration for this QAL. Can’t wait for Sewing Summit!