
 |
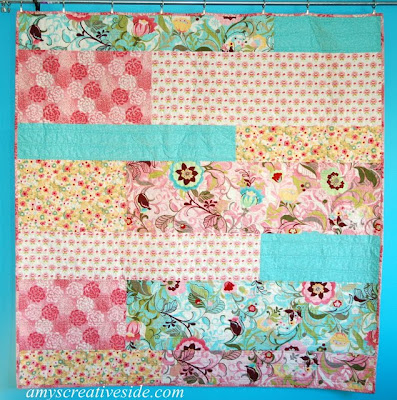
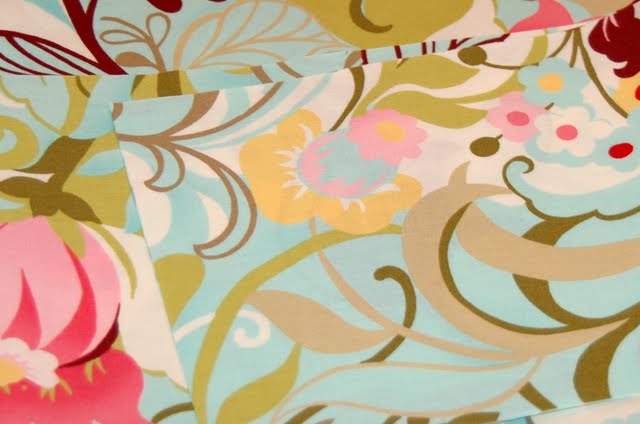
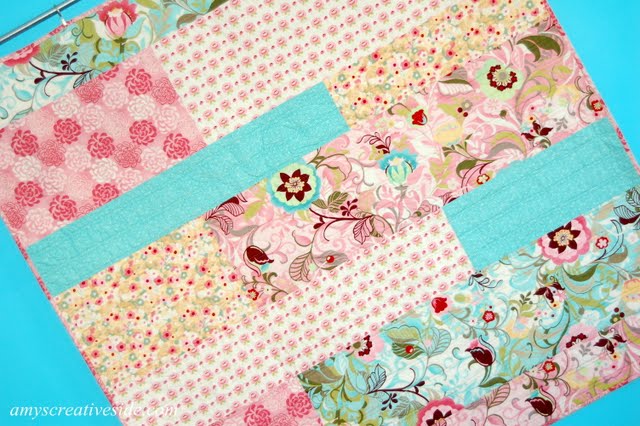
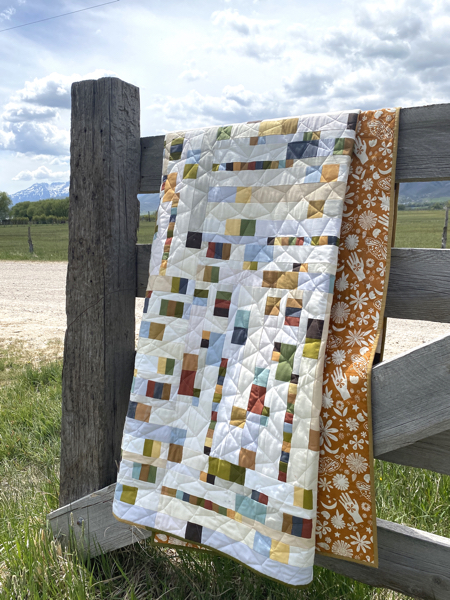
| Hunky Bars – 60″ x 62″ – you do get the play on words, right!? |
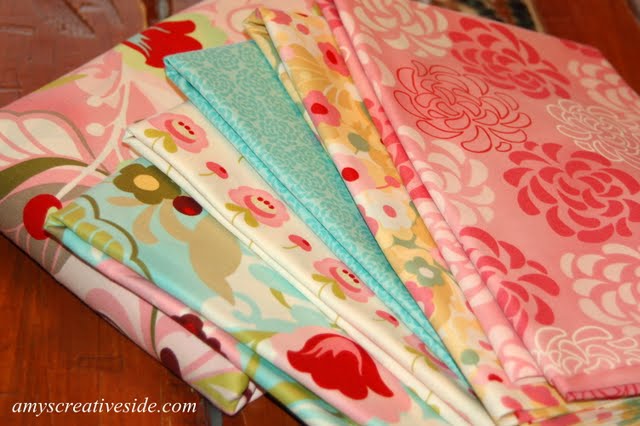 |
| Hunky Bars Materials – top #1 thru #6 on bottom |
Before cutting, press your fabrics, and if you need a refresher in squaring your fabric check out my tutorial prior to your first cut.
CuttingInstructions ::


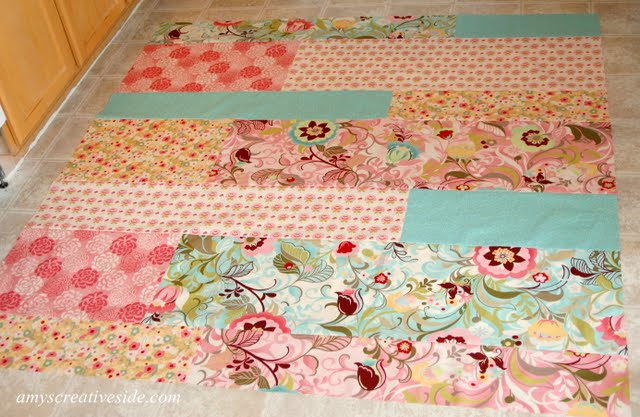
To assemble ::
Row #1 is fabric #5 – 42 1/2″ x 6 1/2″ + fabric #3 – 18 1/2″ x 6 1/2″
Row #2 is fabric #1 – 24 1/2″ x 12 1/2″ + fabric #4 – 36 1/2″ x 12 1/2″
Row #3 is fabric #3 – 36 1/2″ x 6 1/2″ + fabric #2 – 24 1/2″ x 6 1/2″
Row #4 is fabric #2 – 18 1/2″ x 12 1/2″ + fabric #6 – 42 1/2″ x 12 1/2″
Row #5 is fabric #4 – 40 1/2″ x 8 1/2″ + fabric #3 – 20 1/2″ x 8 1/2″
Row #6 is fabric #5 – 42 1/2″ x 12 1/2″ + fabric #1 – 18 1/2″ x 12 1/2″
Row #7 is fabric #2 – 24 1/2″ x 6 1/2″ + fabric #6 – 36 1/2″ x 6 1/2″
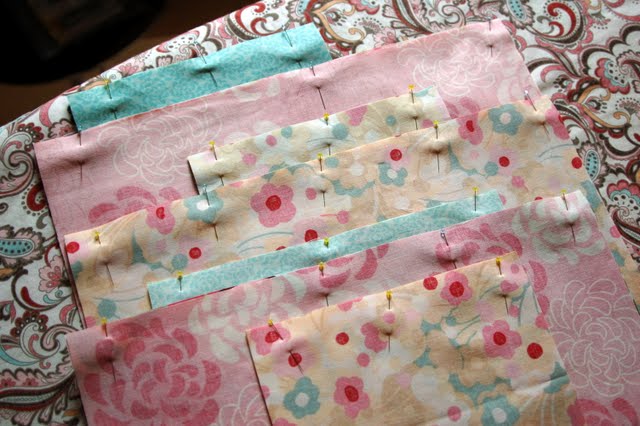 |
| I pin everything! :) |
Using 1/4″ seams sew the rows together. Press your seams (open) and sew your rows into a quilt top! Press your seams again and get ready to quilt.
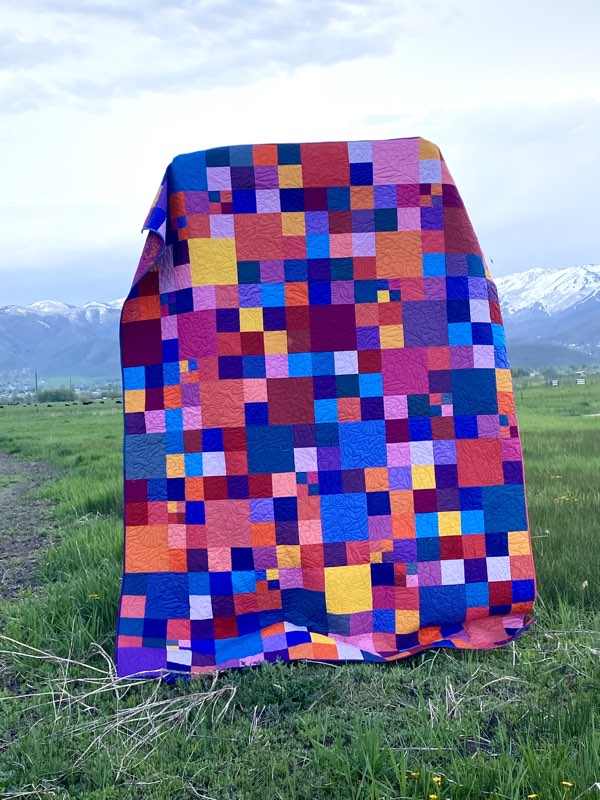
It really is that easy! There are so many fabric combinations that would look great with this simple layout. Once again I am reminded that quilts don’t have to be complicated to be beautiful and well loved! This is a perfect first quilt too, if you’ve been lurking in blogland, building up the courage to have a go at a quilt – do it!
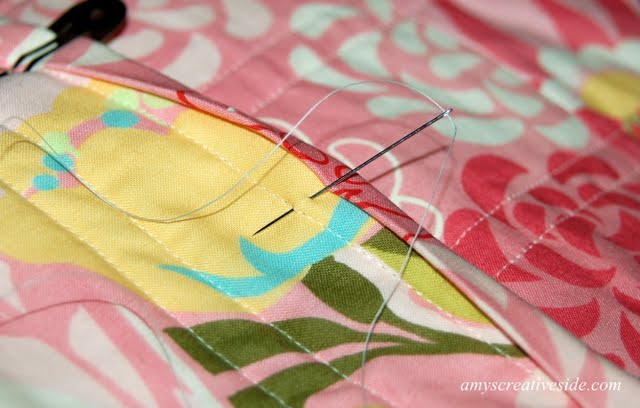
In the coming days I also have a few Basics Tutorials to add to my collection. I took pictures start to finish with this quilt – pretty sure Joe thought I was nuts – oh well! The tutorials include straight line quilting like this –
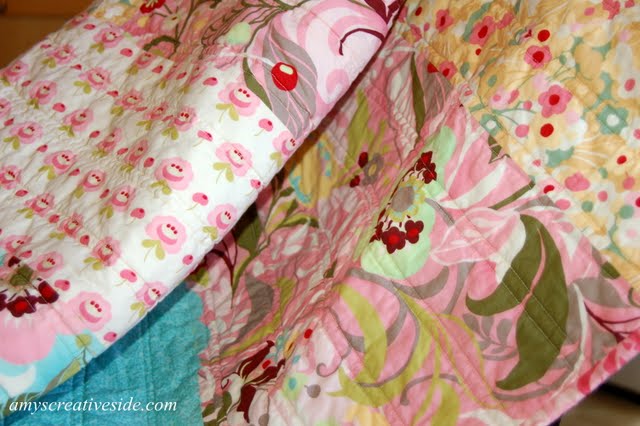
and tacking down your binding.
Finally – if you want to sell a quilt using my pattern – go for it! Just be sure to give me, Amy’s Creative Side, credit by linking back here, and no major manufacturing – Thanks!
I hope you like it! Happy quilting ~
Amy

Great little quilt Amy! Thanks for the tutorial!
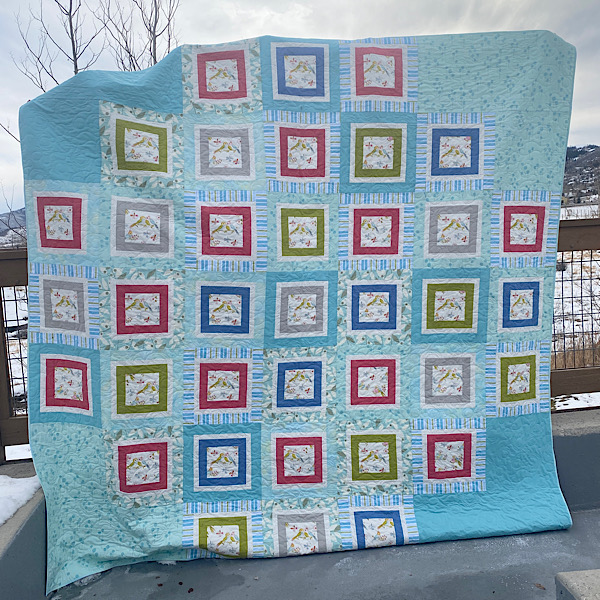
What a nice easy peasy quilt with great results. Love the blue added in the mix for nice contrast.
this is so cool…amazing tutorial. i love the fabric you did it in.
Cute tute Amy! :)
That's awesome! I think it's the next one I'm going to try! :)
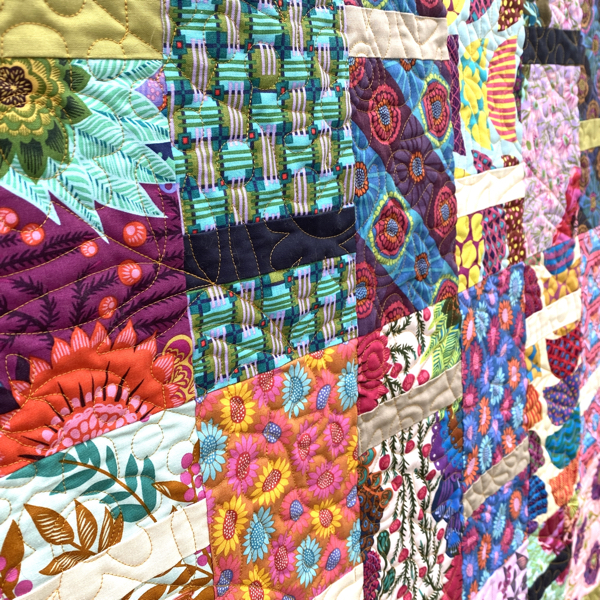
what a great way to showcase a lovely assortment of fabrics.
Super cute quilt, Amy! The hunky dory line is growing on me. And my LQS has some of it….
This is darling Amy, thanks for the tute!!!!
Great pattern. Thanks!
I'm gonna be a copy cat and say: cute tute!
Oh you were having some fun!!! Very fun fabrics and pattern. Don't you just love to share….it is so much fun.
Thanks :)
Kelly
Simply beautiful quilt!! I really really adore the fabrics you selected! Great tutorial too! Thanks, Amy!
Hi Amy,
This quilt is really cute – I love the colours! Thanks for the inspiration!
I love this quilt and at first it seemed so easy however, I’m having some difficulty (I’m a new quilter) with the pinning part of this. These rows have some long and short, mis-sized…Is it supposed to be that way? Matching a 33″ piece with an 18″piece? I can’t visualize Help
I am new at quilting so what does wof strip mean when cutting fabric?
wof = width of fabric
Matching earrings can be worn with a matching necklace, but if your set includes more than two items, it might be better to
only wear one or two at a time. Some jewelry artists feel that when we are selling it directly to buyers
face to face, we should drop that bargain- basement atmosphere.
Owning a Judith Ripka jewelry piece is a sign of good taste and high
fashion.
my page: 925 jewelry
I am so excited to make this beautiful and simple quilt! It’s my first one, and I signed up to follow your blog but can’t find the other tutorials you mentioned doing about this quilt design. Can I still access these? If not, I’m still going to try!:-)
What a darling quilt! I have some fabric just waiting for a cute easy pattern….just getting back into sewing after many years and I’ve done 2 quilts….carrying on the family tradition….thank you!!!!